Summary Outline –
Canning is a time-honored tradition that allows you to savor the flavors of your garden all year round. But it’s more than just preservation; it’s about sustainability and self-reliance.
By canning your garden harvest, you’re reducing food waste and minimizing your reliance on store-bought goods.
In this post analysis, we’ll explore different canning methods, suitable foods, necessary equipment, and safety tips to help you confidently preserve your garden’s bounty.

-
Quick scroll to first topic about canning garden harvest …

first “canning garden harvest” idea

copyright image by 123rf.com
Canning Tip 1: What is Home Canning?
Notes:
-
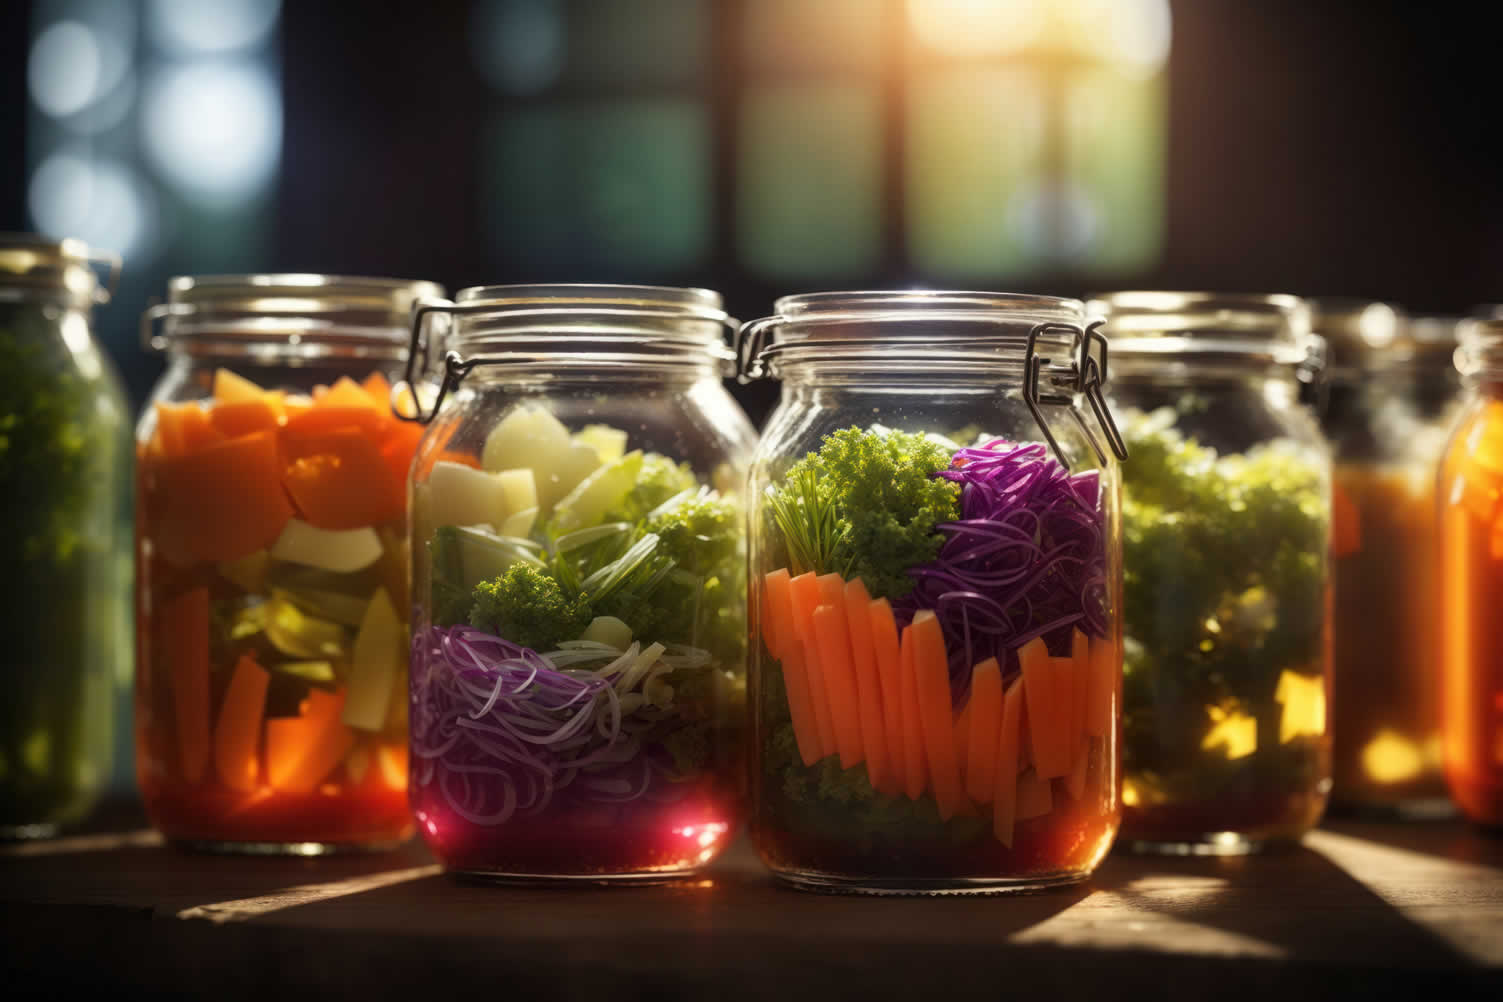
Home canning is the process of preserving food by packing it in jars and subjecting it to heat to destroy microorganisms that cause spoilage. This method creates a vacuum seal that prevents recontamination, enabling long-term storage without the need for refrigeration.
There are two primary types of home canning: water bath canning and pressure canning. Water bath canning is suitable for high-acid foods like fruits, jams, pickles, and tomatoes, while pressure canning is used for low-acid foods like vegetables, meats, and soups.
Both methods require careful attention to time, temperature, and cleanliness to ensure that the preserved foods are safe and delicious.
Home canning allows you to enjoy the essence of your garden’s bounty throughout the year, offering a taste of summer even in the depths of winter.
-
Quick scroll to “understanding home canning” side notes …
-
-
1st: Why Consider Canning?
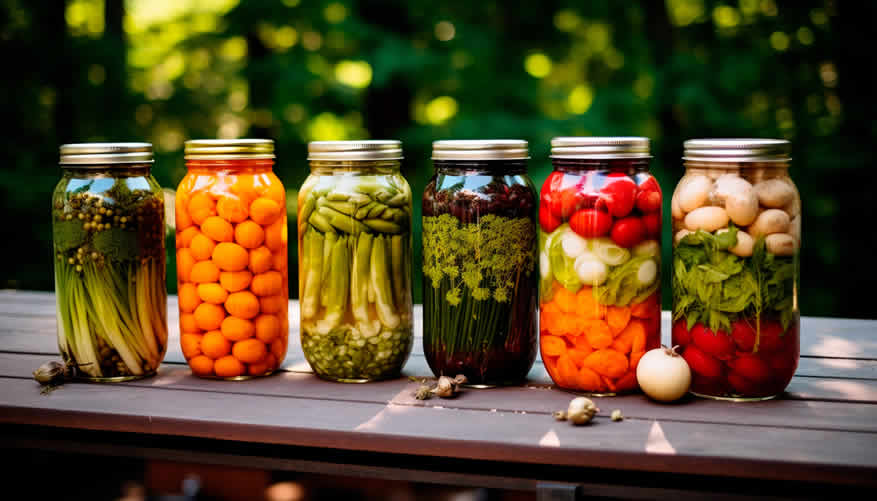
Canning is more than just a method for preserving food; it’s a time-honored tradition that offers numerous benefits to those who practice it.
Whether you’re an avid gardener looking to extend the life of your harvest or someone eager to embrace a more sustainable lifestyle, canning provides a practical and satisfying solution.
Below, we review the specific advantages of canning, segmented into key areas of benefit.
-
Long-Term Food Storage
One of the primary benefits of canning is its ability to significantly extend the shelf life of your produce. Foods that might otherwise spoil within a week can be preserved for up to a year or more when properly canned.
This is particularly useful during peak harvest times when you have an abundance of fruits, vegetables, and herbs. By canning your produce, you ensure that none of your hard work in the garden goes to waste.
-
Nutritional Preservation
Canning preserves not only the taste but also the nutritional value of your foods. Unlike some preservation methods that may degrade the vitamins and minerals in produce, canning locks in nutrients, keeping your foods as close to their fresh state as possible.
This means you can enjoy nutrient-rich meals throughout the year, providing your family with healthy options even when fresh produce is out of season.
-
Cost Savings
By preserving your garden’s bounty, you can save a significant amount on grocery bills. The cost of seeds and plants is typically low, and the return on investment can be quite substantial when you can your produce.
Additionally, canning allows you to take advantage of seasonal sales and bulk purchases, further reducing your food expenses.
-
Environmental Benefits
Canning is an environmentally friendly practice. It reduces your reliance on store-bought goods, decreasing the demand for mass-produced and often heavily packaged items.
Since canned goods can be stored at room temperature, you also save on the energy required for refrigeration and freezing. This makes canning a sustainable choice that helps minimize your carbon footprint.
-
Self-Sufficiency
There’s a unique sense of accomplishment that comes with canning your own food. It fosters a greater connection to your food supply and promotes self-sufficiency.
Knowing that you can provide for your family with the food you’ve grown and preserved yourself is incredibly empowering.
-
Reducing Food Waste
Canning helps combat food waste by allowing you to preserve excess produce that might otherwise spoil. This reduces the amount of food that ends up in landfills and maximizes the value of your garden’s yields. It’s a responsible approach that benefits both your wallet and the environment.
By considering these benefits, it’s easy to see why canning is a valuable skill and practice to adopt.
Whether you’re motivated by health, environmental concerns, or the satisfaction of self-reliance, canning offers a rewarding way to make the most of your garden’s produce.
copyright image by 123rf.com

-
-
2nd: Best Foods for Canning
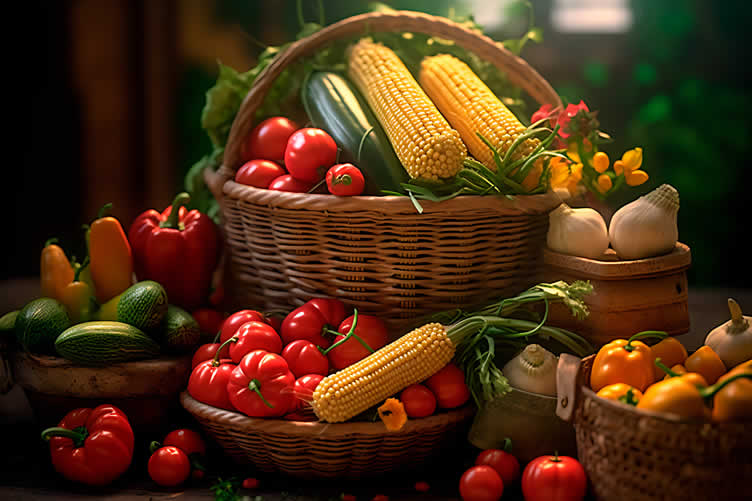
Canning is a versatile method for preserving a variety of foods, allowing you to enjoy the flavors of your garden harvest all year long.
By selecting the best foods for canning, you can maximize both nutritional value and flavor, ensuring that your pantry is well-stocked with delicious and wholesome home-canned goods.
Below, you will find the top foods suited for canning, segmenting them into specific categories for your convenience.
-
Fruits
Fruits are a popular choice for home canning because of their high acid content, which makes them ideal for water bath canning.
Fresh berries, peaches, apples, and pears can be successfully canned to make preserves, sauces, and pie fillings that capture the essence of your garden harvest.
The natural sweetness and vibrant flavors are retained, providing a delightful addition to desserts and breakfast spreads.
-
Vegetables
Vegetables such as tomatoes, green beans, carrots, and peppers are prime candidates for pressure canning. This method ensures that the low-acid vegetables are safely preserved, preventing the growth of harmful bacteria.
Home-canned vegetables offer convenience and a taste of summer freshness, enhancing soups, stews, and side dishes throughout the year.
-
Jams
Making jams from fresh fruits involves a simple canning process that locks in maximum flavor and extends shelf life. Strawberries, blueberries, and apricots are perfect for turning into jams.
Using your garden’s fresh produce to create homemade jams allows you to enjoy the fruit harvest’s natural sweetness and vibrant color long after the growing season has ended.
-
Meat
Canning meats is an excellent way to store protein-rich foods without the need for refrigeration. Pressure canning is essential for meats, such as poultry, beef, and fish, to ensure they are preserved safely.
Home-canned meats can be an invaluable addition to your pantry, ready to be incorporated into a variety of hearty meals with ease.
-
Grains
While canning grains is less common, it is possible to preserve foods like dried beans and lentils using a pressure canner.
This makes them a handy addition to your pantry, providing a versatile and nutritious ingredient that can be easily re-hydrated and cooked when needed.
-
Pickles
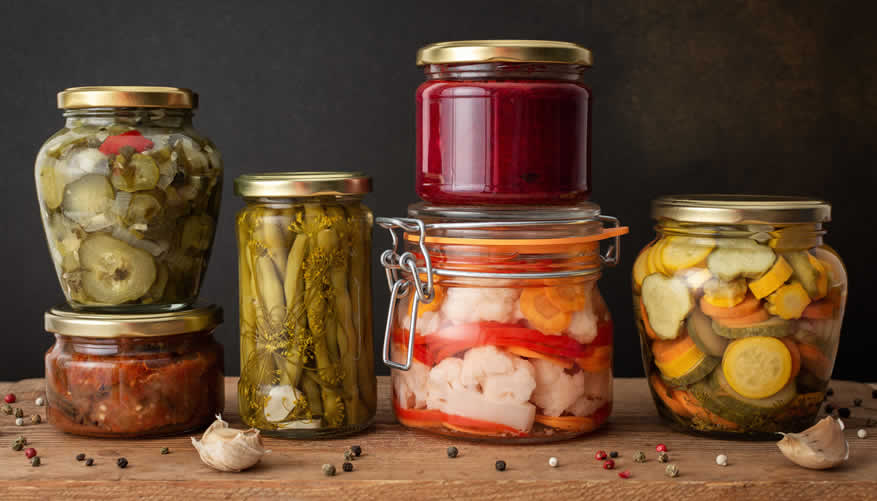
Pickles are a beloved staple in home canning due to their tangy flavor and long shelf life. Cucumbers, carrots, and even green beans can be pickled using a water bath canning method.
With the addition of spices, vinegar, and a bit of creativity, you can transform your garden harvest into flavorful pickled treats that add a zesty kick to sandwiches and salads.
-
Other
In addition to the more common foods, consider canning homemade broths, sauces, and soups. These items are incredibly convenient and can be pressure canned to ensure long-term preservation.
Using the bountiful harvest from your garden, you can create a variety of stock bases and ready-to-eat meal options, perfect for busy days when a quick, nutritious meal is needed.
Selecting the best foods for canning and mastering the techniques to preserve them allows you to make the most of your garden’s bounty, minimizing waste and maximizing flavor and nutrition throughout the year.
copyright image by 123rf.com
[ view diagram: food canning nutritional]
[ youtube: 11 foods to stockpile that never expire]
-
-
-
ideas to view and compare from the information discussed above
Scroll up to directory … or scroll to next section about canning garden harvest …



second “photo remodeling” idea
copyright image by 123rf.com
Canning Tip 2: Types of Canning Methods
Notes:
-
Two primary methods dominate the canning world:
- water bath canning
- pressure canning.
Each method is suited to different types of foods and offers unique advantages.
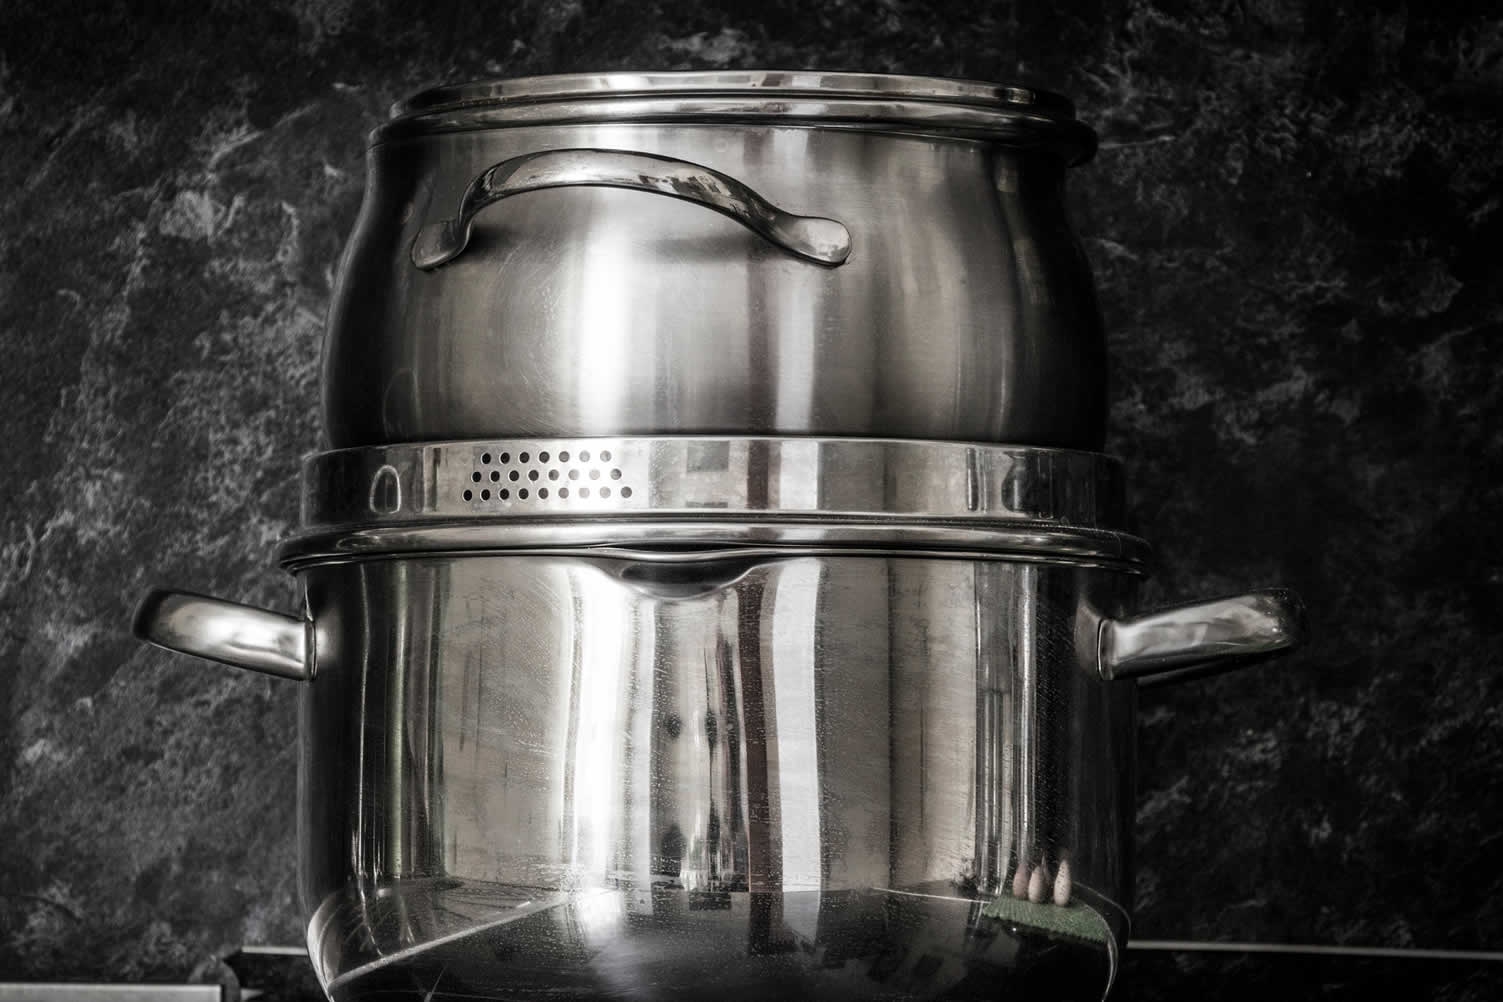
Water bath canning is ideal for high-acid foods like fruits, pickles, and jams. It involves submerging jars in boiling water, heating them to a temperature that destroys harmful microorganisms.
On the other hand, pressure canning is necessary for low-acid foods like vegetables, meats, and poultry. This process uses a specialized pressure canner to achieve temperatures higher than boiling water, ensuring the safe preservation of these foods.
Understanding these methods is crucial for successful canning, as each has specific procedures and safety guidelines.
Choosing between water bath and pressure canning depends on your produce and safety needs. Each method, when performed correctly, offers the joy of preserving your garden harvest safely and efficiently.
By mastering both, you’ll expand your canning repertoire and enhance your ability to enjoy a wide variety of preserved foods.
-
Quick scroll to “canning equipment” side notes …
-
-
1st: Essential Equipment for Canning at Home
Canning at home can be a rewarding and fulfilling way to extend the life of your garden harvest. To ensure the canning process is safe, efficient, and successful, having the right equipment is crucial.
By investing in essential canning tools, you’ll be well-prepared to preserve a wide variety of foods, ensuring your pantry is stocked with nutritious, homemade options year-round.
[ see below: find below canning equipment ]
-
Water Bath Canner or Pot
A water bath canner or a large stock pot is essential for preserving high-acid foods. This equipment allows you to submerge jars in boiling water, maintaining temperatures that destroy harmful microorganisms.
Make sure the pot is deep enough to cover the jars with at least an inch of water and has a tight-fitting lid.
-
Pressure Canner
For low-acid foods like vegetables, meats, and poultry, a pressure canner is indispensable. This specialized equipment reaches higher temperatures than a water bath canner, ensuring the safe preservation of low-acid foods.
Make sure to follow the manufacturer’s instructions and safety guidelines for successful pressure canning.
-
Canning Jars and Lids
Canning jars and lids are the backbone of your canning setup. Made from durable glass, these jars come in a variety of sizes to suit different types of foods.
Two-piece lids, consisting of a flat metal lid and a screw band, ensure a secure seal that keeps your preserved foods safe and fresh.
-
Funnels
A funnel is essential for transferring your prepared foods into jars without spilling. Wide-mouth canning funnels are particularly useful, as they fit the opening of canning jars perfectly, making the process clean and efficient.
-
Jar Lifters
Jar lifters are specially designed tongs that allow you to safely place and remove hot jars from boiling water.
With their rubber-coated grip, jar lifters provide a secure hold, preventing accidents and ensuring safe handling of your canned goods.
-
Bubble Remover
Before sealing your jars, it’s important to remove any air bubbles that might be trapped in the food. A bubble remover, which can also double as a head-space tool, helps ensure proper sealing and prevents spoilage.
-
Kitchen Scale
A kitchen scale is useful for measuring ingredients accurately, especially when following canning recipes that require precise quantities.
Ensuring the right balance of ingredients is key to successful preservation and maintaining the quality of your garden harvest.
-
Magnetic Lid Lifters
Magnetic lid lifters make it easy to handle and position metal lids without contaminating them. Useful for sterilizing and placing lids on jars, this tool reduces the risk of burns and ensures lids remain clean before sealing.
-
Other Essential Tools
Several other tools can enhance your canning experience. These include a timer for tracking processing times, a ladle for transferring liquids, and oven mitts or dish towels for handling hot equipment. Each tool plays a vital role in making the canning process smoother and more efficient.
By equipping your kitchen with these essential tools, you’ll be well on your way to preserving your garden’s bounty safely and effectively.
Whether you are just starting or are an experienced canner, having the right equipment ensures the best possible results for your canning garden harvest.
copyright image by 123rf.com
-
-
2nd: Some Pics and Tips
Collections From Your Garden Harvest
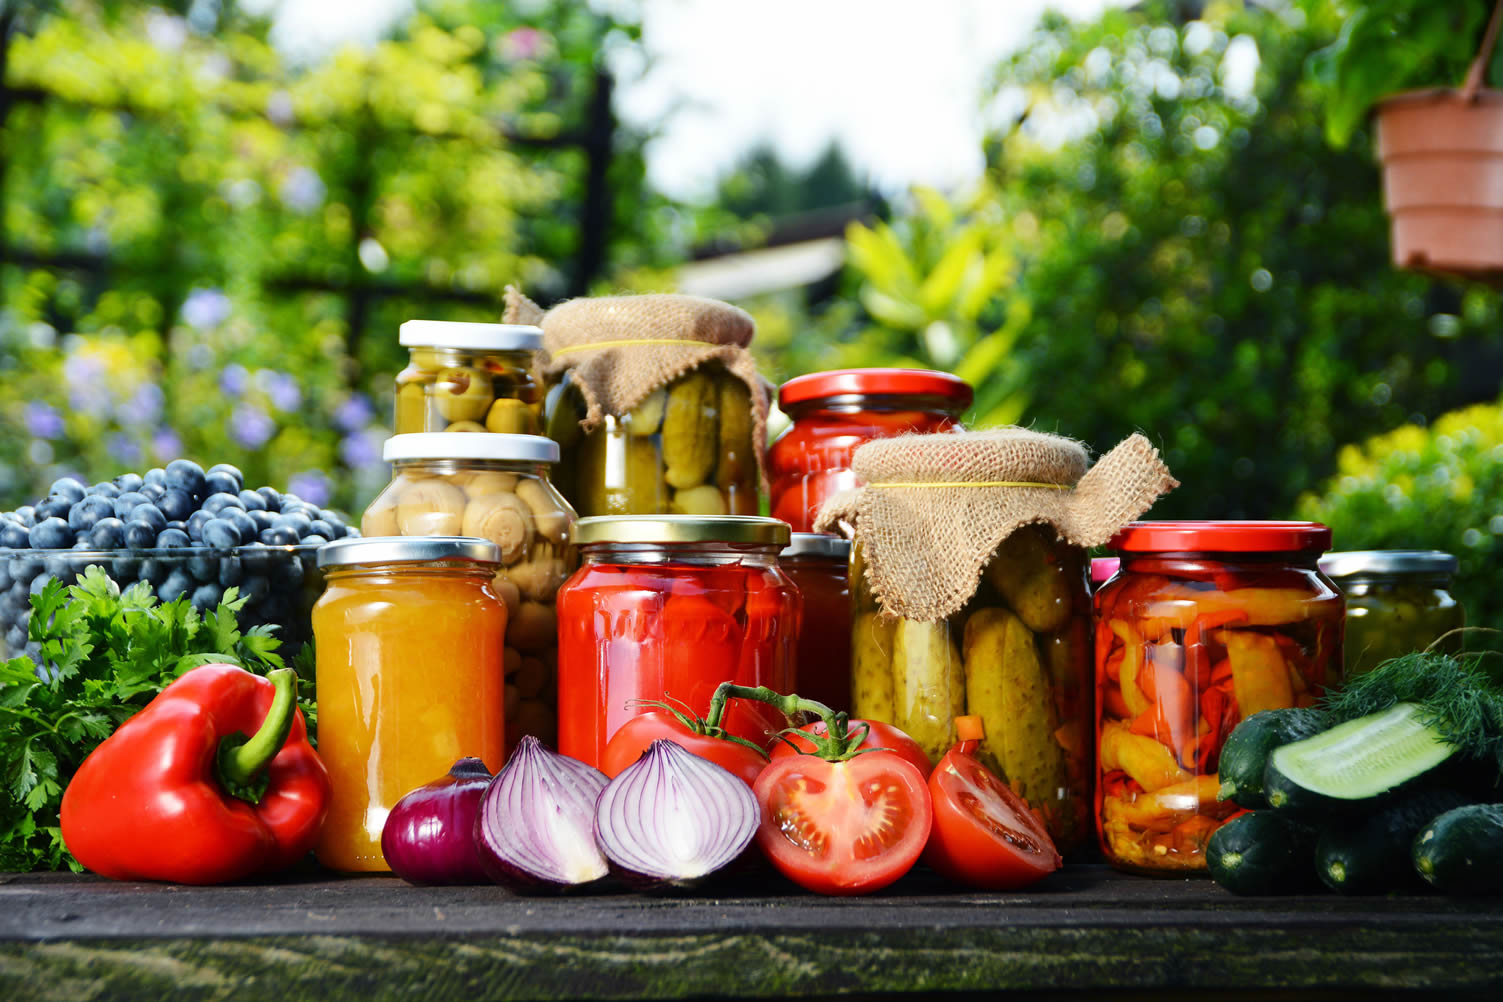
When planning a vegetable garden, it’s essential to consider how you’ll preserve your harvest for future use.
This is where canning comes into play. Canning enables you to "seal" your harvest so it can be enjoyed later in your cooking.
When done properly and consumed in a timely manner, your canned vegetables and fruits can retain the same delicious flavor as when they were freshly harvested.
copyright image by 123rf.com
Canning Your Beans
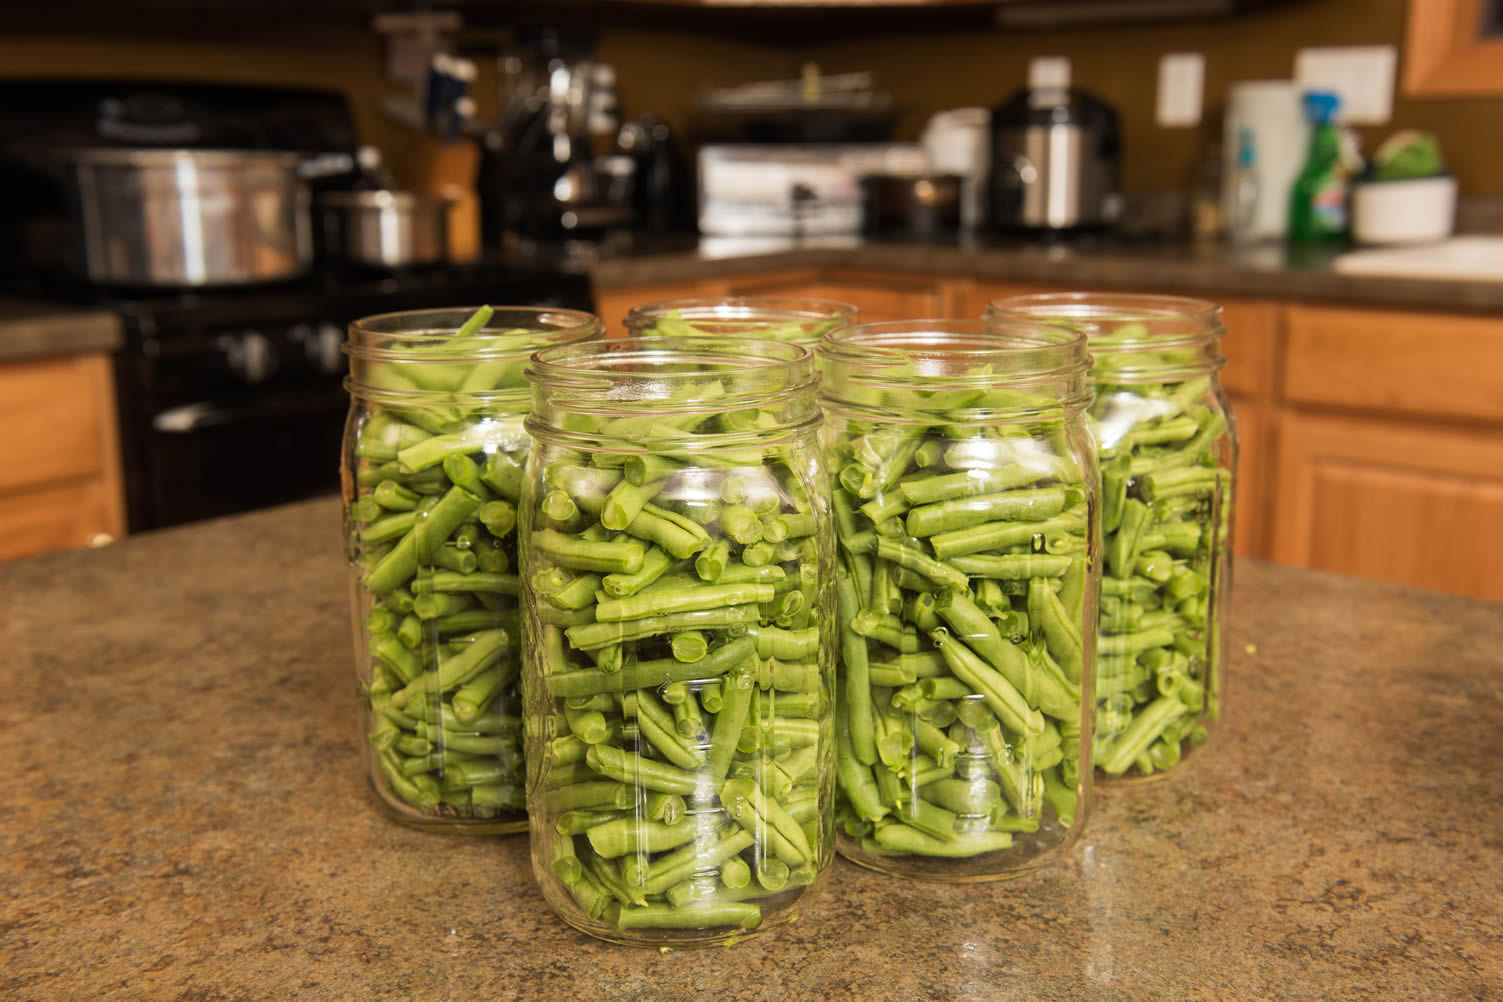
Garden beans are highly sought after for canning to extend their shelf life. To preserve them, start by harvesting the beans, then wash and cut them.
Next, place the prepared beans into a jar and follow the appropriate process to hermetically seal it for future use.
copyright image by 123rf.com
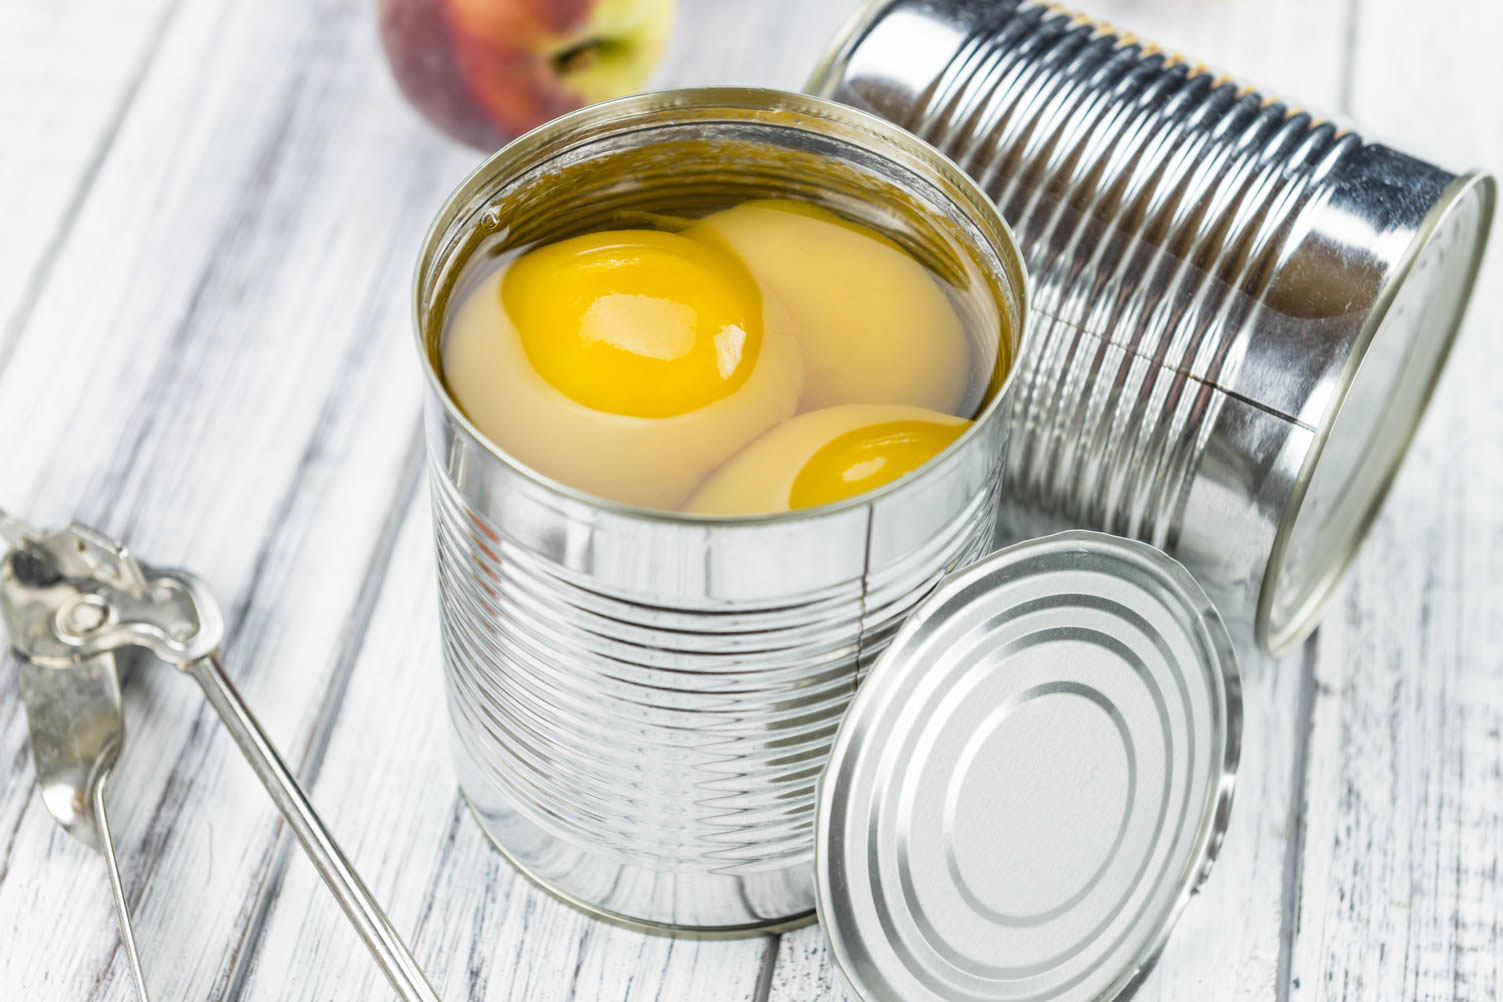
You Can Also Use Cans Instead of Jars
Tin cans offer several advantages over glass jars. They are easily stackable and won’t shatter if dropped or bumped.
While tin cans are ideal for storing dried beans, wheat, and other grains, they can also effectively hold vegetables and fruits.
copyright image by 123rf.com
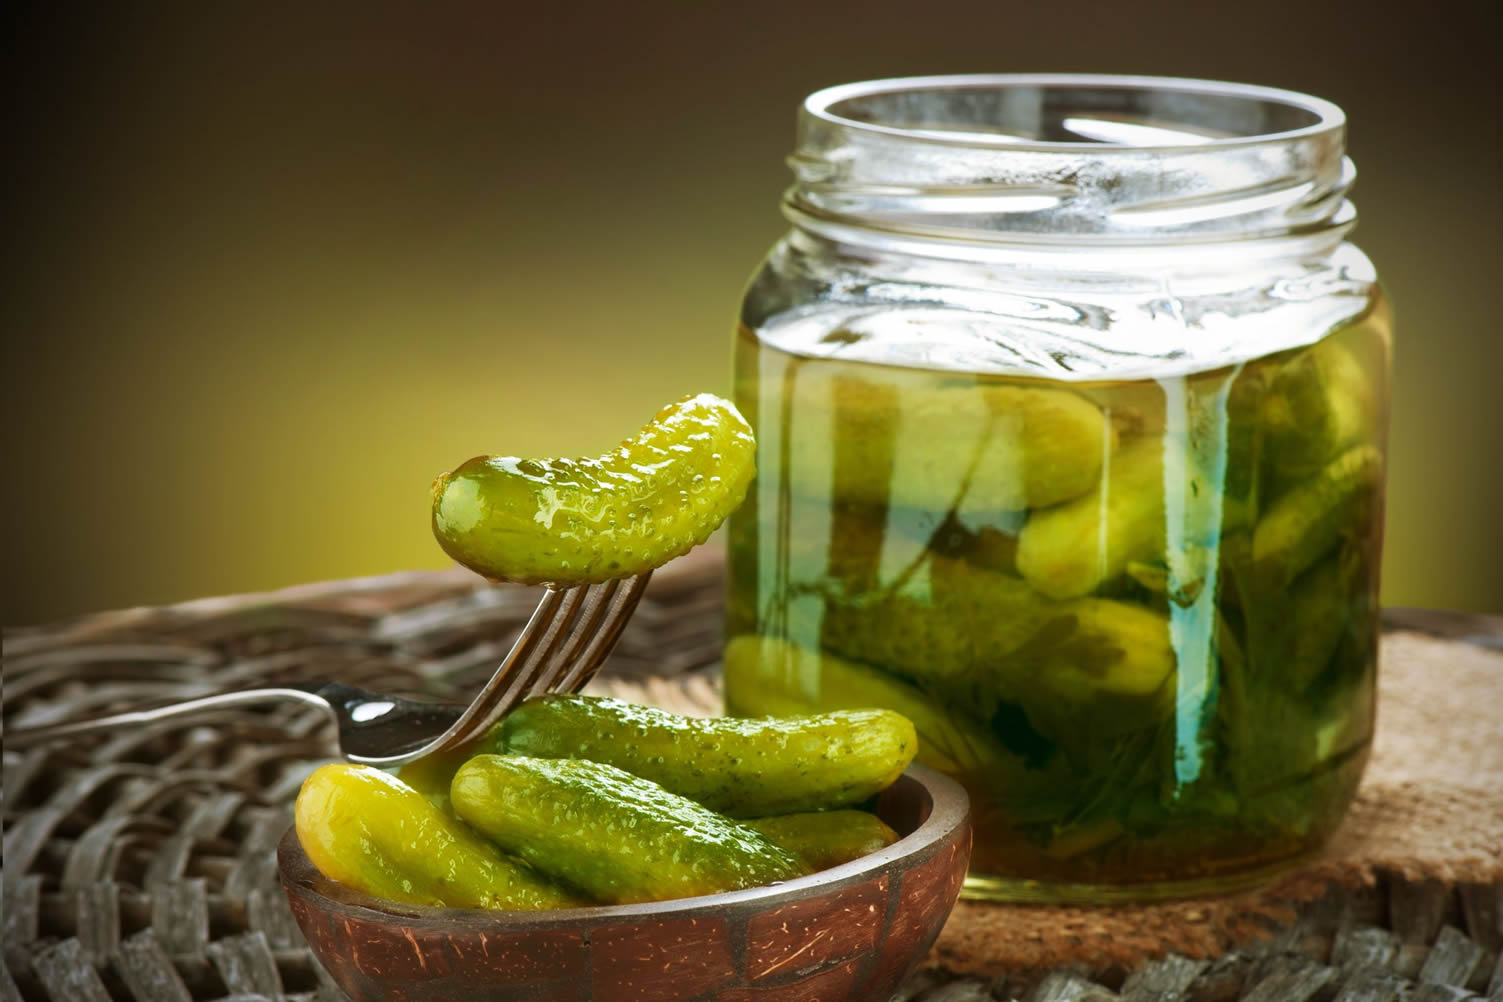
Pickling Cucumbers
A great introduction to canning is pickling and marinating vegetables. For instance, pickling cucumbers is both simple and rewarding.
You can also explore pickling and marinating a variety of vegetables, including beets, beans, and peppers.
The shelf life of these preserved items can vary from one to five months, depending on the marinade and pickling techniques used.
copyright image by 123rf.com
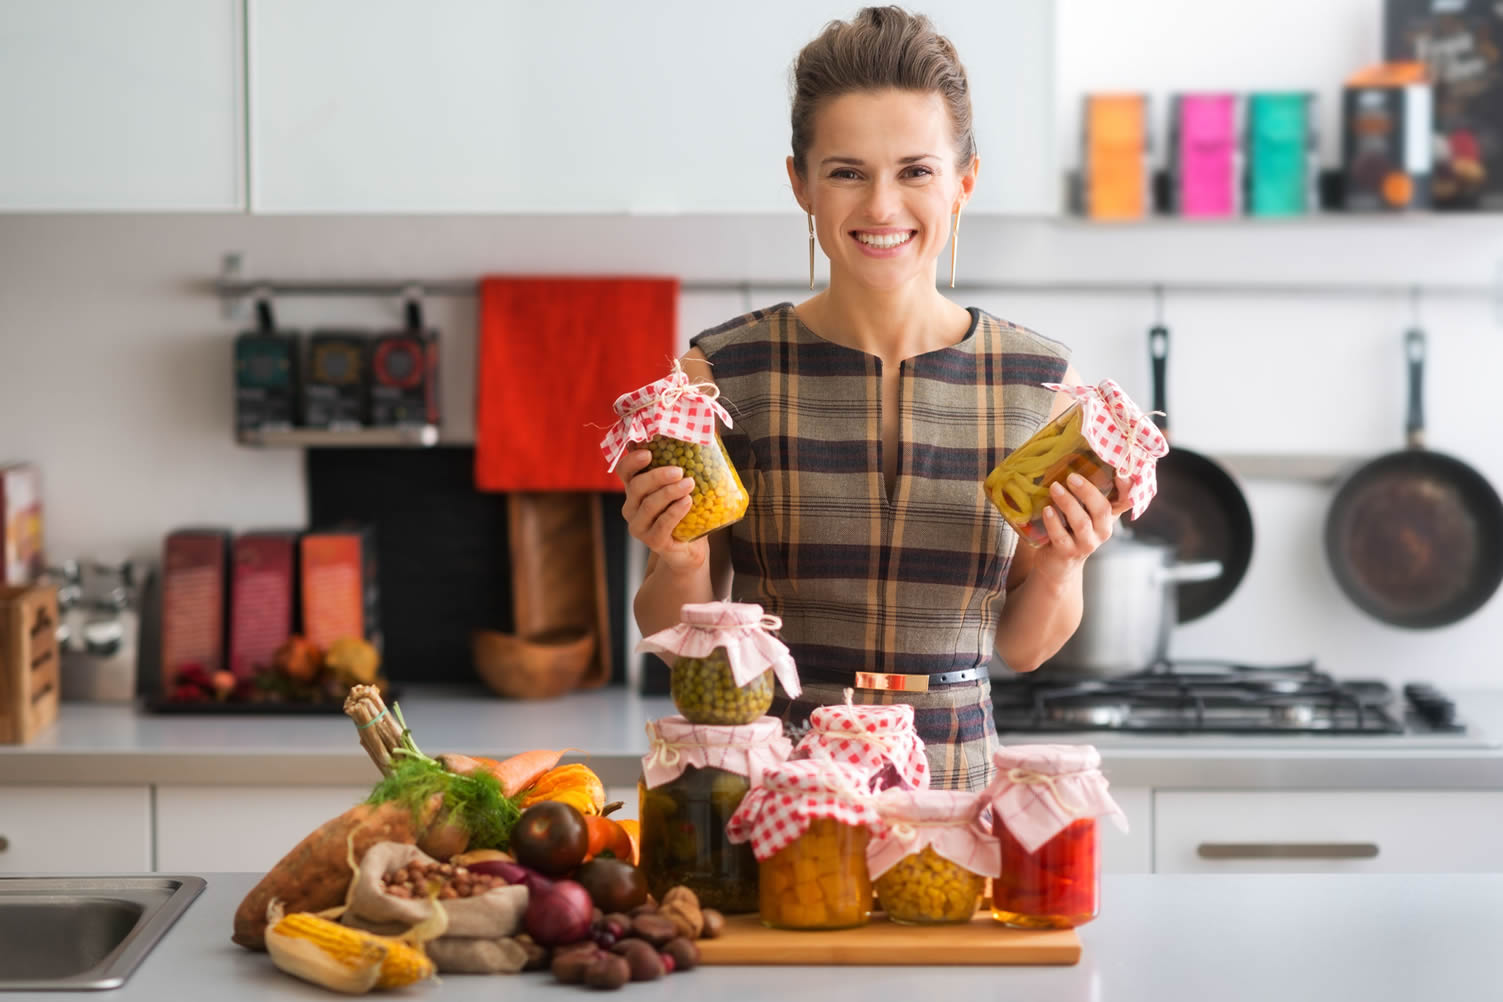
Using Your Kitchen for Canning
Canning has gained popularity over the years as consumers increasingly seek organic cooking methods.
However, it’s essential to grasp the fundamentals of canning to preserve the flavor, texture, and safety of the food stored on your shelf for months.
copyright image by 123rf.com
-
-
ideas to view and compare from the information discussed above
vegetable knife chopperfruit pitting toolfruit vegetable peeler
Scroll up to directory … or scroll to next section about canning garden harvest …

addressing canning tips for your garden harvest and other home improvement needs …

… grab this directory of ideas for future use

… listing the steps in home canning methods

… home remodeling and improvement
May We Suggest Other Photo Remodeling Ideas About
“Adding Garden Elements …” (new win)



third “photo remodeling” idea
copyright image by 123rf.com
Canning Tip 3: Steps for Water Bath and Pressure Canning
Notes:
-
Embarking on the journey of home canning involves two primary methods: water bath canning and pressure canning. Each method is suited to different types of foods and follows specific steps to ensure safety and quality.
It’s crucial to follow specific canning instructions based on the type of food you are preserving. High-acid foods and low-acid foods require different processing times and methods to ensure they are safe to eat.
Incorrect processing can lead to spoilage or food-borne illnesses. By meticulously following tested recipes and guidelines, you ensure that your canned goods are both delicious and safe for your family to enjoy.
-
Quick scroll to “how-to canning” side notes …
-
-
1st: Step-by-Step Guide to Water Bath Canning
Water bath canning is a versatile and accessible method for preserving high-acid foods such as fruits, pickles, and jams.
This process involves submerging jars of food in boiling water for a specified time, ensuring that they are safely sealed and preserved for long-term storage.
Follow the detailed steps below to achieve optimal results with water bath canning.
-
1. Prepare Your Equipment
Thoroughly inspect and clean your equipment before you begin. This includes your water bath canner, jars, lids, and rings.
Make sure there are no cracks or defects in any of the jars or lids. Sterilize the jars by boiling them or using a dishwasher with a sterilization cycle to ensure they are completely free of bacteria.
-
2. Prepare the Food
Start by selecting high-quality, fresh produce or ingredients. Follow your recipe to prepare the food for canning, whether it involves chopping, cooking, or blending.
Taste the mixture and adjust seasoning as needed before canning, ensuring the food will be delicious and flavorful when opened later.
-
3. Fill the Jars
Using a funnel, carefully fill the sterilized jars with your prepared food. Leave appropriate head-space as specified in your recipe, usually about half an inch for jams and jellies or a bit more for other foods.
It’s crucial to avoid overfilling, as this can affect the sealing process.
-
4. Remove Air Bubbles
Gently tap the jars or use a non-metallic spatula to remove any trapped air bubbles that might have formed during the filling process.
This step ensures there are no pockets of air which could lead to spoilage or affect the seal.
-
5. Clean the Rims and Seal the Jars
Wipe the rims of the jars with a clean, damp cloth to remove any residue that could interfere with sealing. Place the lids on the jars and screw on the bands until they are fingertip tight.
Avoid over-tightening, as jars need space to release air during the boiling process.
-
6. Process the Jars
Place the filled jars into the water bath canner using a jar lifter, ensuring they are submerged at least one to two inches below the water’s surface.
Once the water returns to a rolling boil, start timing according to your recipe’s guidelines. Ensure the water remains at a consistent boil throughout the entire processing time.
-
7. Cool and Test the Seals
After the processing time is complete, carefully remove the jars using a jar lifter and place them on a towel or a cooling rack. Allow them to cool undisturbed for 12 to 24 hours.
Once cooled, check the seals by pressing down on the center of each lid; a properly sealed lid will not flex up or down. Store any jars that did not seal correctly in the refrigerator and use them promptly.
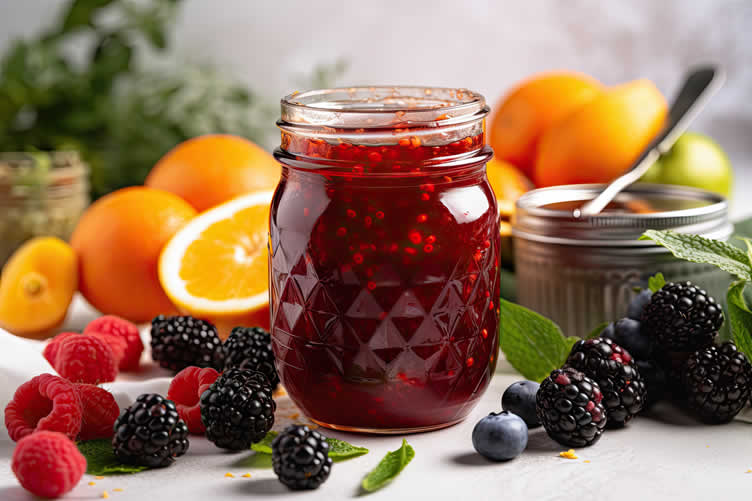
copyright image by 123rf.com
[ pinterest: water bath canning ]
[ youtube: water bath canning for beginners ]
-
-
2nd: Step-by-Step Guide to Pressure Canning
Pressure canning is an essential method for preserving low-acid foods, such as vegetables, meats, and soups, ensuring they are safe for long-term storage.
This method allows you to extend the shelf life of your garden harvest, ensuring that you can enjoy the fruits of your labor year-round. Here’s a detailed, step-by-step guide to pressure canning:
-
1. Prepare Your Equipment
Start by gathering all necessary equipment, including a pressure canner, canning jars, lids, bands, a jar lifter, a bubble remover, and a clean towel.
Ensure your pressure canner is in good working condition by checking the gasket and the vent to confirm there are no obstructions. Clean your jars and lids with hot, soapy water and keep them warm until they are ready to be filled.
-
2. Prepare and Pack Your Food
Select fresh, high-quality produce from your garden harvest to ensure the best results. Wash and prepare the food according to your recipe.
Blanch vegetables if your recipe requires it, and pack the food loosely into the canning jars, leaving the appropriate head-space as indicated in your recipe.
Use a non-metallic spatula to remove air bubbles by running it along the inside edge of the jars.
-
3. Add Liquid and Seal the Jars
Fill the jars with boiling water, broth, or canning liquid, maintaining the recommended head-space Use the bubble remover again to release any trapped air bubbles.
Wipe the rims of the jars with a clean, damp cloth to remove any residue, and then place the lids on top. Secure the bands by screwing them on until they are fingertip tight.
-
4. Load the Canner
Place the filled jars on the rack inside the pressure canner, ensuring they do not touch each other or the sides of the canner.
Add the recommended amount of water to the canner, usually around 2-3 inches, based on your canner’s instructions. Lock the lid in place according to the manufacturer’s guidelines.
-
5. Vent the Canner
Heat the canner on high until steam steadily escapes from the vent. Allow the steam to vent for a full 10 minutes to ensure that all air is expelled and the canner is properly pressurized.
This is a crucial step for achieving the correct internal temperature.
-
6. Begin Processing
After venting, seal the vent and allow the pressure to rise to the level specified in your recipe, adjusting for altitude if necessary. Begin timing once the desired pressure is reached.
Maintain a steady pressure throughout the processing time, adjusting the heat as needed to avoid fluctuations.
-
7. Cool Down and Remove Jars
Once the processing time is complete, turn off the heat and let the canner cool naturally. Do not attempt to hasten the cooling process.
When the pressure returns to zero, wait an additional 10 minutes before unlocking and removing the lid. Carefully lift the jars out using a jar lifter and place them on a towel or cooling rack, away from direct drafts.
-
8. Check Seals and Store
Allow the jars to cool undisturbed for 12 to 24 hours. Check the seals by pressing the center of each lid; a properly sealed lid will not move.
Label and date the jars, then store your pressure-canned goods in a cool, dark place. If any jars did not seal properly, store them in the refrigerator and use them promptly.
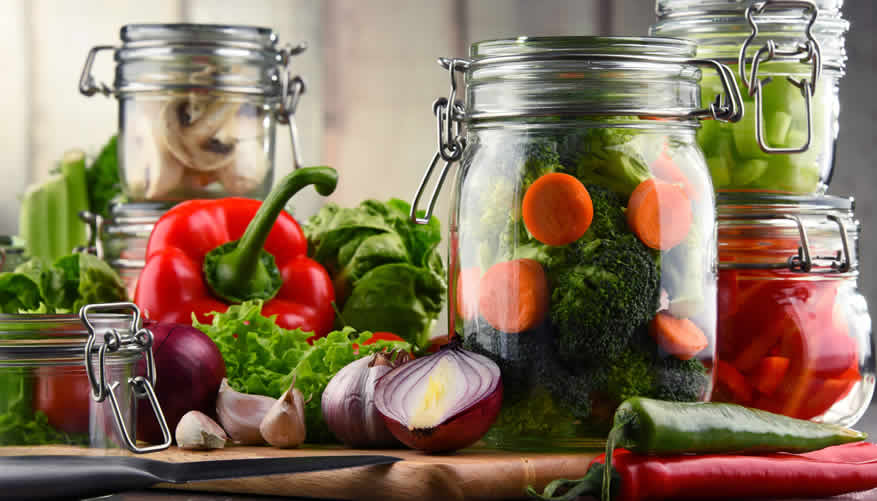
copyright image by 123rf.com
[ pinterest: pressure canning ]
[ youtube: pressure canning 101 ]
-
-
3rd: Safety Considerations When Canning
Preserving your garden harvest through canning is a rewarding endeavor, but it is essential to prioritize safety to ensure your preserved foods are safe for consumption.
Following proper safety protocols can prevent spoilage and the risk of food-borne illnesses. Below are some important safety considerations to keep in mind:
-
1. Use Tested Recipes
Always use recipes and processing times that have been tested and approved by food safety experts or credible sources such as the USDA or your local extension office.
These recipes are designed to eliminate harmful bacteria and ensure the safety of your canned goods.
-
2. Sterilize Equipment
Properly sterilize all jars, lids, and tools before use. Boil jars and lids for at least 10 minutes, and sanitize any utensils or surfaces that will come into contact with your food to prevent contamination.
-
3. Follow Pressure Canning Instructions
Matching the food type with the correct canning method is essential. Low-acid foods, including vegetables and meats, must be processed in a pressure canner to reach temperatures high enough to eliminate botulism spores.
Always follow the specific instructions provided for your pressure canner model.
-
4. Check Jar Seals
After the jars have cooled, check each seal to ensure it is airtight. Press the center of the lid; if it remains firm and does not pop up and down, the seal is good.
Unsealed jars should be refrigerated and used immediately.
-
5. Avoid Overfilling Jars
Leave the recommended head-space between the food and the jar lid to allow for expansion during processing.
Overfilled jars can result in siphoning, where food or liquid is forced out during processing, potentially compromising the seal.
-
6. Inspect Before Consumption
Before consuming your canned goods, inspect each jar for any signs of spoilage such as an off odor, mold, or bubbling liquid. Never consume canned food if you suspect it may be compromised.
By adhering to these safety considerations, you can confidently and safely preserve your garden harvest, ensuring delicious and nutritious meals throughout the year.
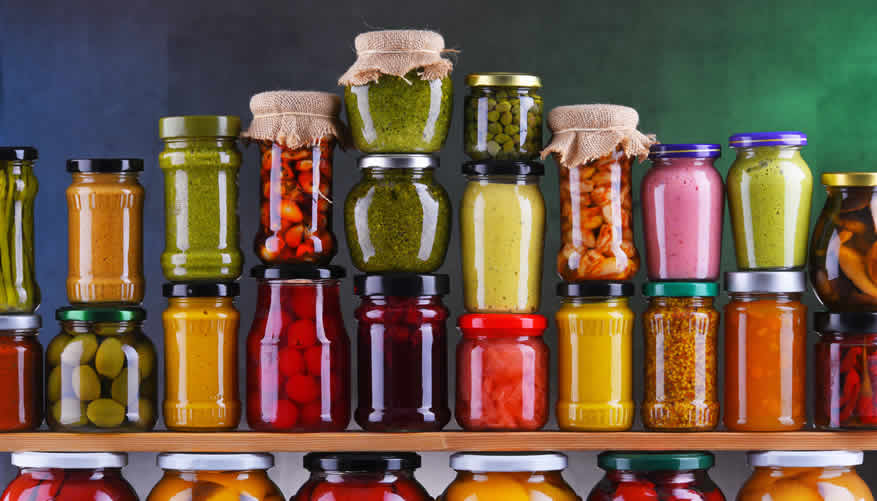
copyright image by 123rf.com
-
-
-
ideas to view and compare from the information discussed above
book: canning recipeswater bath canning potpressure canning pot
Scroll up to directory … or scroll to next section about canning garden harvest …
SHARE IT ..! You might have someone in your social network who could find this informative post on steps to canning garden harvest valuable. Feel free to share it on Facebook, X (formally Twitter), LinkedIn, or Pinterest!




… kitchen counter appliances for canning purposes


fourth “photo remodeling” idea
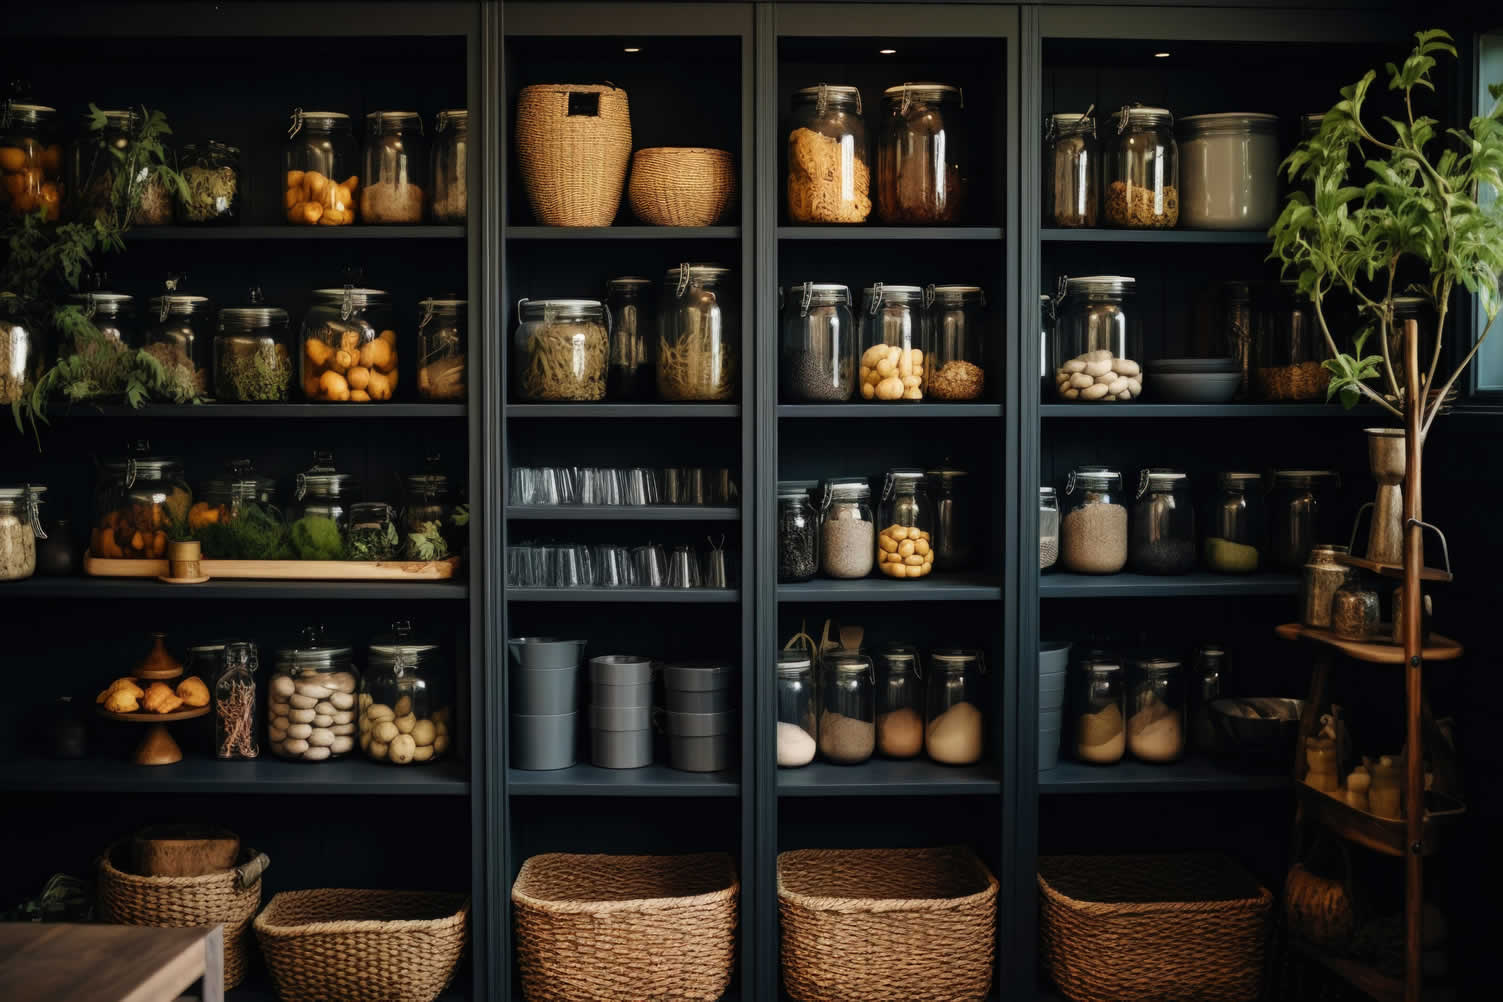
copyright image by 123rf.com
Canning Tip 4: Storing Canned Goods
Notes:
-
Proper storage of canned goods is vital to maintaining their quality and safety. If stored correctly, canned foods can last for years while retaining their flavor and nutritional value.
By following a few key guidelines, such as keeping them in a cool, dry place away from direct sunlight and extreme temperatures, you can ensure that your canned foods stay fresh and enjoyable for as long as possible.
Additionally, regularly checking the expiration dates and inspecting the cans for any signs of damage, like dents or rust, will help you avoid any safety risks and make the most of your pantry staples.
-
Quick scroll to “how-to storing” side notes …
-
-
1st:How Best to Store Canned Goods
Proper storage is crucial to ensure the longevity and safety of your canned goods. By following a few straightforward guidelines, you can keep your canned foods from your garden harvest fresh and ready to enjoy throughout the year.
Here are some important tips to help you store your canned goods efficiently and effectively.
-
Where to Store Canning Goods
Store your canned goods in a clean, cool, dark, and dry place. An ideal location would be a pantry, basement, or cabinets away from any direct sunlight.
Direct exposure to light and fluctuating temperatures can degrade the quality and nutritional content of the food inside the jars.
-
What Climate is Best for Long-Term Storage
Consistent temperatures are key for long-term storage. Aim to keep your storage area at a stable temperature between 50 and 70 degrees Fahrenheit.
Extreme heat can cause the food to spoil, while freezing temperatures can make the jars brittle and potentially crack. Ensuring a stable climate will prolong the shelf life of your canned garden harvest.
-
How to Inventory What Has Been Stored
Keeping an inventory of your canned goods helps you manage your stock efficiently and ensures you consume food before it loses its quality. Label each jar with the canning date, and group similar items together.
Maintain a list or a spreadsheet detailing what you’ve canned, the quantities, and the dates. Regularly update this inventory to keep track of your supplies.
-
Additional Tips for Proper Storage
Besides temperature and location, it’s important to rotate your stock. Follow the ‘first in, first out’ principle to consume older items before newer ones.
Also, avoid stacking jars on top of each other to prevent breakage and ensure they remain in good condition. Checking seals periodically and discarding any compromised jars will help maintain the overall safety of your canned goods.
By adhering to these storage tips, you can maximize the shelf life and quality of your canned goods, ensuring that your efforts in preserving your garden harvest are well rewarded.
-
How Long to Store Canned Goods
Understanding the storage life of your canned goods is crucial to ensuring you safe and nutritious food throughout the year.
Different methods of canning and proper storage practices can significantly influence the longevity and quality of your preserved garden harvest.
-
Water Bath Canning Storage Life
Water bath canning is primarily used for high-acid foods such as fruits, pickles, and tomatoes. These items, when properly canned and stored, can last between 12 to 18 months.
It is essential to ensure that the jars are sealed properly and stored in a cool, dark place to maintain their quality. Keeping an eye on the seals and checking for any signs of spoilage, such as bulging lids or off smells, is vital to ensure they remain safe to consume.
-
Pressure Canning Storage Life
Pressure canning is ideal for low-acid foods like vegetables, meats, and beans. These items can be safely stored for up to 3 to 5 years when canned correctly and kept in optimal conditions.
The high temperatures achieved during pressure canning are effective at destroying harmful bacteria, making it a reliable method for preserving your garden harvest.
Regularly inspect the jars for any signs of rust, leaks, or compromised seals to ensure the contents remain safe.
-
Other Tips for Storage Life of Canned Goods
To maximize the shelf life of your canned goods, it’s crucial to store them in a consistent environment away from extreme temperatures, direct sunlight, and moisture.
Implementing the ‘first in, first out’ principle will help you use older items first, preventing them from being forgotten and spoiling over time. Additionally, labeling each jar with the date of canning will make inventory management easier and more efficient.
By understanding the different storage lives of water bath and pressure-canned goods, along with following best practices for storage, you can enjoy the fruits of your garden harvest safely and deliciously for years to come.
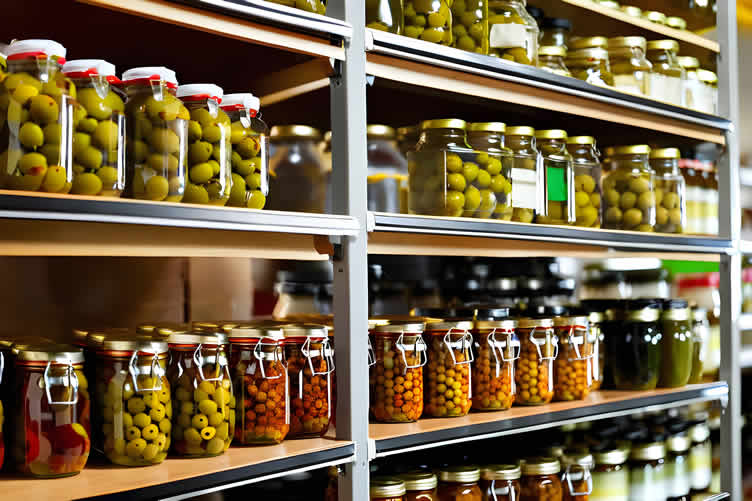
copyright image by 123rf.com
-
-
-
ideas to view and compare from the information discussed above
Scroll up to directory … or scroll to next section about canning garden harvest …

plan the specifications you need for making …

… key home improvement and remodeling decisions
fifth “photo remodeling” idea
copyright image by 123rf.com
Canning Tip 5: Alternatives to Canning
Notes:
-
While canning is a popular and effective method for preserving your garden harvest, there are several other preservation techniques that can help extend the shelf life of your produce.
These alternatives can be simpler or more suitable depending on the type of food you wish to preserve and the resources you have available.
In the following sections, we’ll explore various methods such as freezing, dehydrating, fermenting, and pickling, detailing the benefits and best practices for each.
By diversifying your preservation methods, you can enjoy a wider range of textures and flavors from your garden bounty throughout the year.
-
Quick scroll to topic "canning alternatives" side notes …
-
-
1st: Freezing
Freezing is a versatile and straightforward method for preserving your garden harvest, allowing you to maintain the nutritional value, texture, and flavor of your produce.
Unlike canning, freezing requires minimal preparation and can be used for a wide variety of foods, offering both convenience and efficiency.
By following a few key tips and guidelines, you can ensure that your frozen goods remain fresh and delicious for months to come.
-
What Foods Can Be Frozen
Not all produce is suitable for freezing, but many vegetables and fruits can be successfully preserved in this manner. Commonly frozen vegetables include green beans, peas, carrots, broccoli, spinach, and corn.
Fruits like berries, peaches, and apples also freeze well. It’s important to blanch most vegetables before freezing to preserve their color, flavor, and nutritional value.
-
How Best to Freeze Food
To achieve the best results when freezing your garden harvest, start by thoroughly washing and drying your produce. Cut items into suitable portions, blanch the vegetables if necessary, and allow them to cool completely.
Use airtight freezer-safe containers or bags to prevent freezer burn and label each package with the date of freezing for easy tracking. For better organization, consider freezing your produce in single layers on a baking sheet before transferring them to containers.
-
Shelf Life of Frozen Food
The shelf life of frozen food can vary depending on the type of produce and the method of storage. Typically, most vegetables and fruits can be stored for 8 to 12 months without significant quality loss.
Ensure that your freezer remains at a consistent temperature of 0°F (-18°C) to maintain the integrity of your frozen goods. Regularly check your frozen stock and use the ‘first in, first out’ principle to manage your inventory effectively.
-
Additional Tips for Freezing Garden Harvest
Some additional tips for successfully freezing your garden harvest include portioning food into meal-sized servings for convenience and using vacuum sealing for longer storage life.
Make sure to remove as much air as possible from the storage containers to prevent freezer burn. Additionally, keeping an inventory list of your frozen goods can help you stay organized and reduce waste.
copyright image by 123rf.com
—— another freezing tip ——
Using a Sealer for Best Preservation and Shelf Life
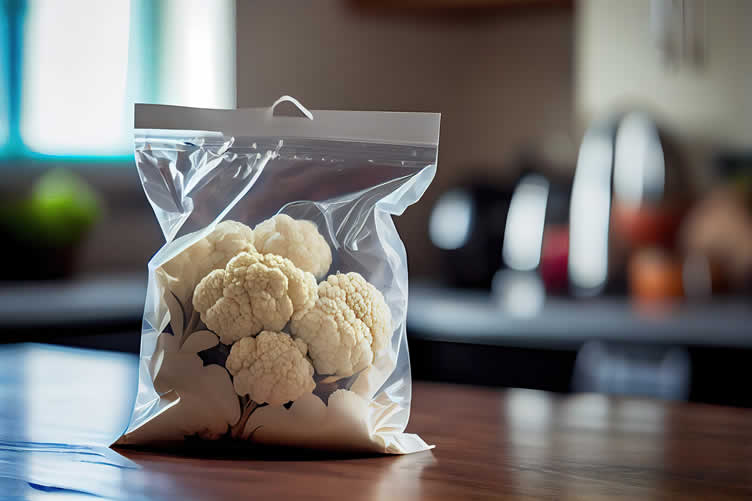
Vacuum sealing is an excellent method for preserving your frozen garden harvest and extending its shelf life.
When you use a vacuum sealer, it removes air from the packaging before sealing it tightly, which helps to prevent freezer burn and keeps your produce fresh for a longer duration.
- Start by selecting high-quality vacuum sealer bags or rolls that are specifically designed for freezing.
- Place your blanched and cooled produce inside the bags, leaving enough space at the top for the sealing process.
- Use the vacuum sealer to remove the air and create a tight seal.
- Label your packages with the date and type of produce, and then store them in the freezer.
This method not only keeps your garden harvest at its peak quality but also saves space in your freezer. Regularly inspect sealed packs for any signs of air ingress and re-seal if necessary, ensuring optimal preservation and convenience.
[ youtube: freezer prep with foodsaver ]
[ amazon: vacuum food sealer ]
-
-
2nd: Freeze Drying
Freeze drying is an advanced food preservation technique that offers an excellent alternative to traditional canning methods. By removing moisture content while retaining nutritional value, texture, and flavor, freeze drying ensures that the preserved food remains as close to its fresh state as possible.
This method involves a multi-stage process that begins with freezing the food and then placing it under a vacuum to remove water through sublimation.
Below, we explore the various aspects of freeze drying, providing a detailed guide on how it works, its applications, and benefits.
-
How Freeze Drying Works
Freeze drying, also known as lyophilization, starts with freezing the food to a very low temperature. Once the food is frozen solid, it is placed in a vacuum chamber.
By reducing the pressure, the ice within the food transitions directly from solid to gas (sublimation), bypassing the liquid stage. This phase change removes moisture while maintaining the food’s cellular structure.
The final product is lightweight and shelf-stable, retaining most of its original characteristics.
-
What Foods Can Be Freeze Dried
Most foods can be successfully freeze dried, including fruits, vegetables, meats, dairy, and complete meals. High-water content foods like strawberries, peas, and meats are particularly well-suited to this process.
Even liquids such as soups and stews can be freeze dried when done correctly, allowing for easy storage and future reconstitution.
-
Shelf Life of Freeze Dried Foods
One of the most significant advantages of freeze dried foods is their impressive shelf life. When stored properly in airtight containers or Mylar bags with oxygen absorbers, freeze dried foods can last 25 to 30 years without losing nutritional value or flavor.
The long shelf life makes it a preferred method for preparing emergency food supplies and long-term storage.
-
Additional Benefits
Beyond prolonged shelf life and preservation of quality, freeze drying offers several other benefits. Freeze dried foods are lightweight and easy to transport, making them ideal for on-the-go lifestyles.
The process also reduces the risk of bacterial growth and spoilage, providing a high level of food safety. Moreover, the nutrient retention in freeze dried foods surpasses many other preservation methods, ensuring that you still receive essential vitamins and minerals.
By incorporating freeze drying into your preservation techniques, you can maximize the lifespan and quality of your food, enjoying fresh-tasting produce and meals whenever you desire.
copyright image by 123rf.com
—— freezing drying tip ——
How to Use Freeze Drying
Using a freeze dryer involves several steps to ensure the food is preserved correctly. Begin by preparing the food; wash, peel, and cut it into manageable pieces. Pre-freezing the food can help speed up the process, although it is not always necessary.
Load the prepared food onto the trays provided with the freeze dryer and place the trays into the machine. Select the appropriate settings based on the type of food being freeze dried.
The machine will first freeze the food to an extremely low temperature, followed by creating a vacuum to remove the ice through sublimation, turning it directly into vapor. Once the process is complete, check the food to ensure it is dry and brittle.
Finally, store the freeze dried food in airtight containers or Mylar bags with
-
Pros and Cons of Freeze Drying
Pros:
- Long Shelf Life:
Freeze dried foods can last between 25 to 30 years when stored correctly. - Nutrient Retention:
The freeze drying process retains most of the food’s original nutritional content. - Lightweight:
Freeze dried foods are much lighter than their fresh counterparts, making them easy to transport. - Convenience:
Foods can be easily re-hydrated by adding water, making them perfect for quick meals. - Versatility:
Almost any type of food, including complete meals, can be freeze dried. - Food Safety:
The process reduces the risk of bacterial growth and spoilage.
Cons:
- Cost:
Freeze dryers can be expensive, making the initial investment significant. - Energy Consumption:
The freeze drying process can be energy-intensive, impacting utility costs. - Time-Consuming:
The process can take several hours to complete, depending on the food type and quantity. - Texture Changes:
Some foods may have altered textures post-freeze drying, which might not be appealing to everyone. - Storage Needs:
Proper storage equipment, such as Mylar bags and oxygen absorbers, is required to maintain food quality.
- Long Shelf Life:
[ youtube: freeze drying 101 ]
[ amazon: vacuum freeze dryer ]
-
-
3rd: Dehydrating
Dehydrating your garden harvest is an excellent alternative to canning that lets you preserve the flavors and nutrients of your produce with minimal effort.
This method involves removing the water content from fruits, vegetables, and herbs, resulting in lightweight, easy-to-store items that can last for months or even years.
Dehydrated foods are perfect for snacks, ingredients in recipes, or emergency food supplies.
-
What Food Can Be Dehydrated
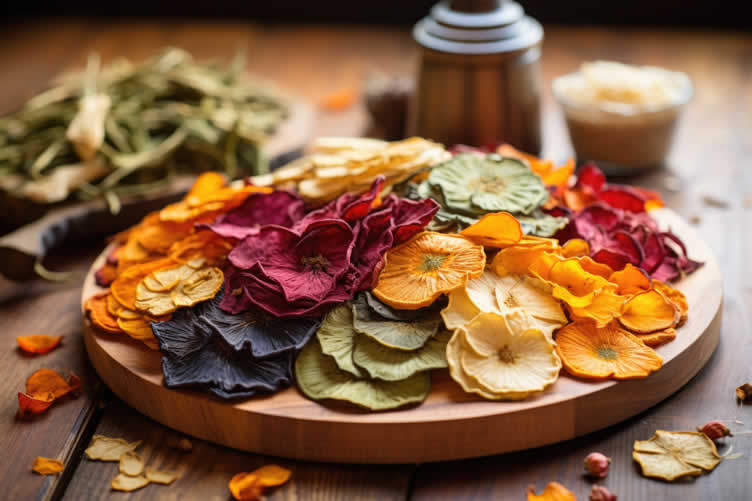
A wide variety of foods can be successfully dehydrated. Popular choices include fruits like apples, bananas, and berries; vegetables such as tomatoes, peppers, and mushrooms; and herbs like basil, thyme, and oregano.
Even less common items like soups and stews can be dehydrated and later re-hydrated for a quick meal.
-
How Best to Dehydrate Food
To dehydrate your garden harvest effectively, you will need a dehydrator or an oven. Choose high-quality produce and wash, peel, and slice it into uniform pieces for even drying.
Spread the items in a single layer on the dehydrator trays or baking sheets and set the temperature according to the specific fruit or vegetable you are drying. Keep the dehydrator or oven in a well-ventilated space to ensure optimal airflow.
The process can take several hours, depending on the food and thickness of the slices.
-
Shelf Life of Dehydrated Food
Dehydrated foods have an impressive shelf life if stored properly. When kept in airtight containers in a cool, dark place, most dehydrated fruits and vegetables can last for up to a year, while herbs can last even longer.
It is crucial to ensure that all the moisture has been removed from the food before storage to prevent mold growth and spoilage.
-
Additional Tips for Dehydrating
For the best results, it’s important to label your containers with the date of dehydration, so you can track their age. Combining dehydrated foods with other preservation methods, such as vacuum sealing, can extend their shelf life even further.
Creating an inventory list of your dehydrated garden harvest helps you manage your stock efficiently and reduces waste.
Dehydrating not only preserves the nutritional value of your produce but also intensifies the flavors, making for delicious and versatile additions to your meals.
copyright image by 123rf.com
—— another dehydrator tip ——
Should You Invest in a Dehydrator?
Investing in a dehydrator can be a worthwhile decision for those who regularly preserve large quantities of garden produce or who enjoy the convenience and health benefits of dehydrated snacks.
Dehydrators are specifically designed to provide consistent temperatures and airflow, resulting in more reliable and higher-quality dried foods compared to an oven.
They also typically offer more drying space with multiple trays, allowing you to dehydrate larger batches simultaneously.
While there is an initial cost to purchase a dehydrator, the long-term savings on grocery bills, the reduction in food waste, and the ability to enjoy home-grown produce year-round can make it a valuable addition to your kitchen.
Additionally, dehydrators are generally energy-efficient, which can further justify the investment over time.
[ youtube: food dehydrating tips ]
[ amazon: food dehydrator ]
-
-
4th: Fermenting
Fermenting is a centuries-old method of preserving food that not only maintains the food’s nutritional value but also enhances its flavor and adds pro-biotic benefits.
Unlike canning, fermenting relies on the natural process of facto-fermentation, where beneficial bacteria break down sugars and starches in the food, resulting in tangy, delicious products.
This method is an excellent way to preserve your garden harvest and create healthful, savory additions to your diet.
-
What Food Can Be Fermented
Nearly any vegetable from your garden can be fermented. Popular choices include cucumbers (to make pickles), cabbage (to create sauerkraut or kimchi), carrots, radishes, and beets.
Even greens like kale and collard can be transformed into zesty condiments and snacks. Fruits can be fermented too, although they often result in different products such as wines or chutneys.
-
How Best to Ferment Food
To begin fermenting your garden harvest, start with clean, fresh produce. Cut the vegetables into the desired size, then pack them tightly into a fermentation vessel, such as a jar.
Make a brine using water and salt, pour it over the vegetables until they are fully submerged, and weigh them down to keep them under the brine. It’s essential to keep the fermenting vegetables away from air to prevent mold and unwanted bacteria.
Store the jar at room temperature, away from direct sunlight, and allow the process to take its course, which can range from a few days to several weeks depending on the vegetable and your taste preferences.
-
Shelf Life of Fermented Food
Fermented foods have a remarkable shelf life when stored correctly. Once the fermentation process is complete, transfer the jars to a refrigerator or a cool, dark place to slow down the fermentation and prolong the shelf life.
Fermented vegetables can last anywhere from several months to over a year under these conditions. Fermented foods are generally safe to eat as long as they smell and taste good, and any mold growth should be carefully removed.
-
Other Tips for Fermenting
A successful fermentation relies on maintaining the right balance of salt, water, and temperature. Label your ferments with the date they were started to track their progress and ensure safety.
Experimenting with different spices and herbs can add unique flavors to your fermented garden harvest.
Fermentation not only preserves food but can also enhance its digestibility and enrich it with gut-health-promoting probiotics, providing a multifaceted approach to preserving your bountiful harvest.
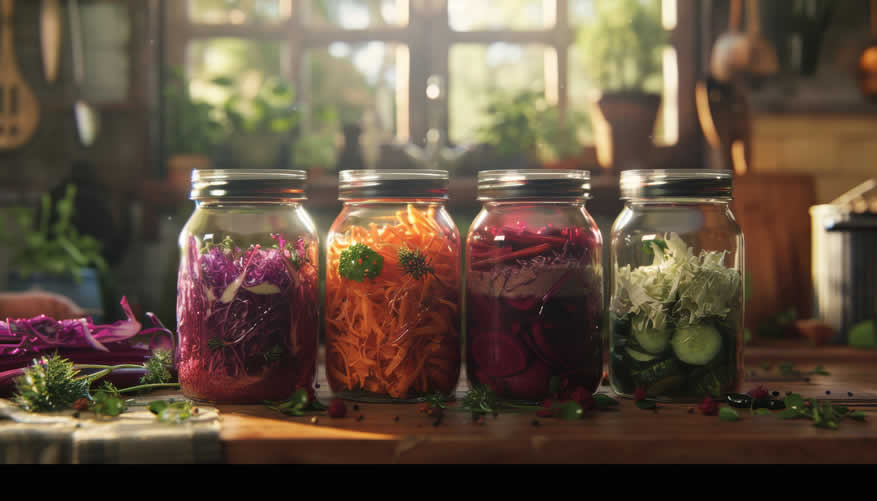
copyright image by 123rf.com
—— another fermentation tip ——
Health Benefits of Fermentation
Fermentation offers a multitude of health benefits, making it a valuable technique for enhancing the nutritional profile of your garden harvest.
One of the primary advantages is the increase in beneficial probiotics, which support gut health by promoting a balanced microbiome. A healthy gut flora can boost your immune system, improve digestion, and even positively impact mental health.
Additionally, fermentation can increase the bioavailability of nutrients, meaning that vitamins and minerals are more easily absorbed by the body. This process can also reduce the presence of anti-nutrients, compounds that can inhibit nutrient absorption.
Furthermore, fermented foods are often easier to digest, as the fermentation process breaks down complex carbohydrates and proteins.
Integrating fermented foods into your diet can therefore offer comprehensive health benefits, from improved digestion and nutrient absorption to enhanced immune function and beyond.
[ youtube: easiest ways to get into fermentation ]
[ amazon: food fermentation kit ]
-
-
5th: Pickling
Pickling is a time-honored method of preserving garden harvests that offers a tangy and flavorful alternative to canning.
This process involves immersing vegetables or fruits in a vinegar solution, often with added spices and herbs, creating a distinctive taste that complements a wide range of dishes.
Not only does pickling extend the shelf life of produce, but it also enhances its flavor profile, making it a versatile and delicious way to enjoy your garden’s bounty.
-
What Food Can Be Pickled
A variety of vegetables and fruits can be pickled, including cucumbers, carrots, green beans, beets, and peppers.
Leafy greens like kale, as well as fruits such as watermelon rinds and strawberries, can also be pickled to create unique and unexpected flavors. Almost any fresh harvest from your garden can be transformed through pickling.
-
How Best to Pickle Food
To achieve the best results when pickling, start by thoroughly washing and cutting your produce into uniform pieces.
Prepare a pickling brine with a mixture of water, vinegar (such as white vinegar or apple cider vinegar), salt, and your choice of spices and herbs.
After packing the prepared vegetables or fruits tightly into sterilized jars, pour the hot brine over them, ensuring they are fully submerged.
Seal the jars and store them in a cool, dark place. For a more nuanced flavor, allow the pickled produce to marinate for at least a few weeks before consuming.
-
Shelf Life of Pickled Food
When stored correctly, pickled foods can have a long shelf life. Unopened jars of pickled vegetables or fruits can last for up to a year in a cool, dark pantry.
Once opened, the pickles should be refrigerated and consumed within a few months. Always check for any signs of spoilage, such as off smells, discoloration, or mold, before eating.
-
Other Pickling Tips
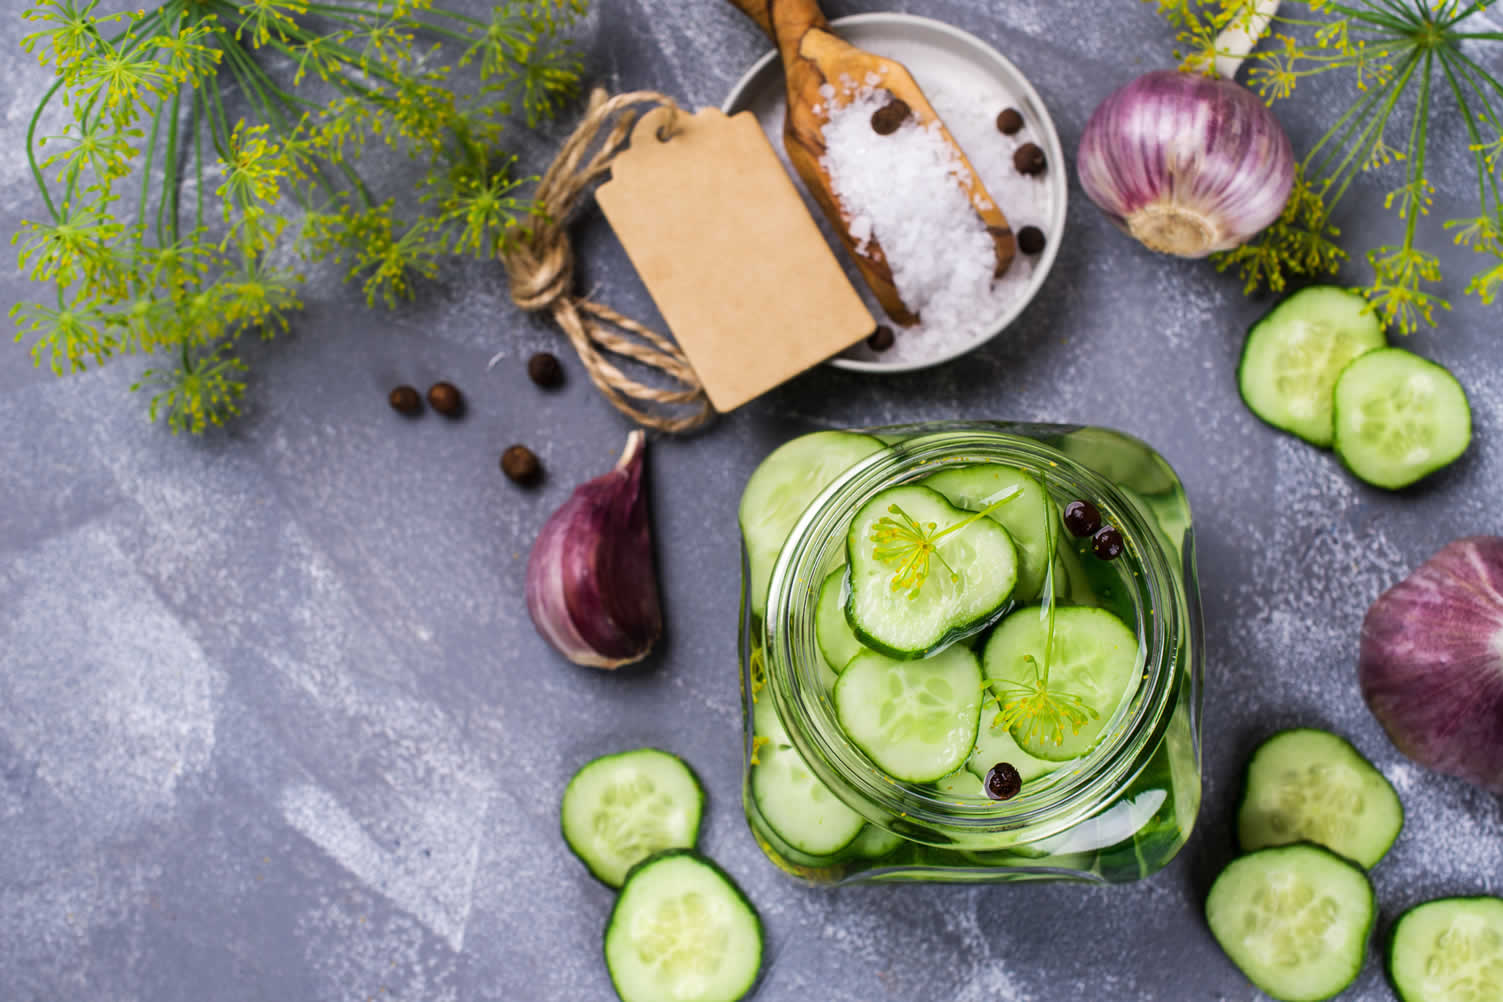
Experimenting with different spices and herbs can lend a unique twist to your pickled garden harvest. Popular options include dill, garlic, mustard seeds, and peppercorns, but don’t be afraid to try something new, like cloves or cinnamon sticks.
Always use non-iodized salt and ensure that your jars are properly sterilized to prevent contamination. Pickling not only preserves your garden produce but also adds a new dimension of flavor that can be enjoyed year-round.
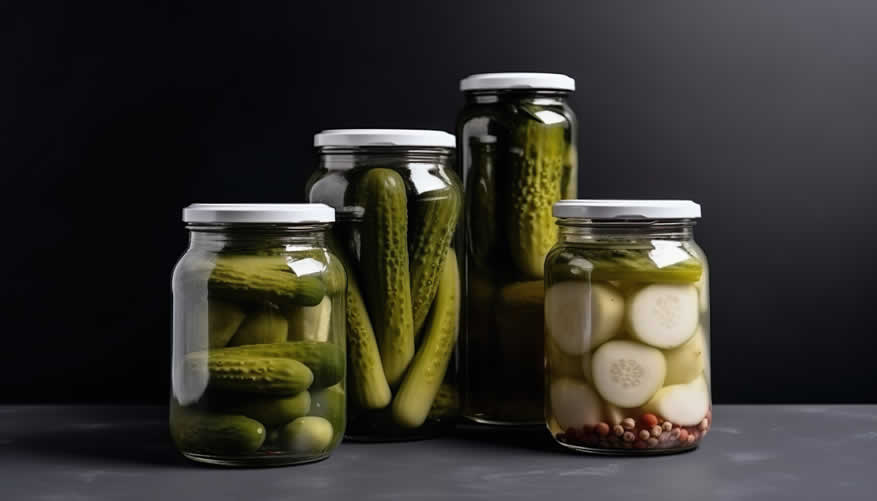
copyright image by 123rf.com
—— another pickling tip ——
Types of Pickling
There are two primary methods of pickling:
- Vinegar Pickling:
This method involves soaking foods in a vinegar-based solution, which creates a highly acidic environment that prevents the growth of spoilage-causing bacteria. Most commercially available pickles, such as kosher dill pickles, are made using this technique - Fermentation Pickling:
In this method, foods are submerged in a salt brine that encourages the growth of beneficial bacteria. This fermentation process produces lactic acid, which acts as a preservative. Examples include sauerkraut and kimchi.
-
Best Spices to Use in Pickling
Adding spices to your pickling process can significantly enhance the flavor and complexity of the preserved foods.
Depending on whether you’re vinegar pickling or fermentation pickling, different spices can be used to complement and elevate the taste profiles.
Here are some of the most popular spices used in pickling:
- Dill Seeds and Weed:
Essential in creating classic dill pickles, dill seeds and weed provide a fresh, slightly tangy taste that pairs well with cucumbers and carrots. - Mustard Seeds:
These small, round seeds add a mild, tangy heat to pickles. They are commonly used in a variety of pickling recipes, including bread and butter pickles. - Coriander Seeds:
Offering a citrusy and somewhat sweet flavor, coriander seeds are often used in combination with other spices to create a balanced and aromatic pickle. - Black Peppercorns:
Whole peppercorns add a subtle heat and depth of flavor, making them a versatile addition to almost any pickling recipe. - Bay Leaves:
Adding bay leaves can infuse pickles with a mildly floral, herbal note, elevating the overall taste. - Garlic:
Fresh garlic cloves impart a robust, savory flavor that complements a wide variety of pickled vegetables. - Turmeric:
This bright yellow spice not only adds a vibrant color to pickles but also a warm, earthy flavor, particularly popular in Indian-style pickles. - Cloves:
Used sparingly, cloves can add a sweet-spicy note that enhances the complexity of the pickling brine. - Allspice Berries:
These provide a mix of cinnamon, nutmeg, and clove flavors, adding an interesting depth to the pickles. - Red Pepper Flakes:
For those who prefer a kick, red pepper flakes can add heat and boldness to your pickles.
Experimenting with different combinations of these spices can lead to delightful and unique flavors, tailoring your pickles to match your personal taste preferences.
- Dill Seeds and Weed:
-
Historical Context
Pickling dates back over 4,000 years, with origins believed to be in ancient Mesopotamia or India. It has been utilized across cultures for its preservation benefits—historically, it helped people store surplus food during times of scarcity.
Notably, pickled foods have been praised for their health benefits and were even considered beneficial for soldiers in ancient Rome.
[ youtube: how to pickle food: a beginner’s guide ]
[ amazon: food pickling spices ]
-
-
-
ideas to view and compare from the information discussed above
book: food preservationfreezer storage containersfreezer reusable bags
Scroll up to directory … or scroll to next section about canning garden harvest …



Budgeting Worksheet For Costing Home Remodeling and Home Improvement Decisions
 File Type (excel)
get the size dimensions for any home remodeling project …
… for functionality, aesthetics, and adhering to building codes




Find Landscaping/Maintenance Landscape Design Landscape Maintenance Pest Control Sprinkler Systems Tree & Shrubs Water Features top-rated, pre-screened local contractors FREE: download contractor selection enter zip code – powered by HomeAdvisor ™
Quick Contractor Guides selecting negotiating working with inspecting

sixth and last “photo remodeling” idea
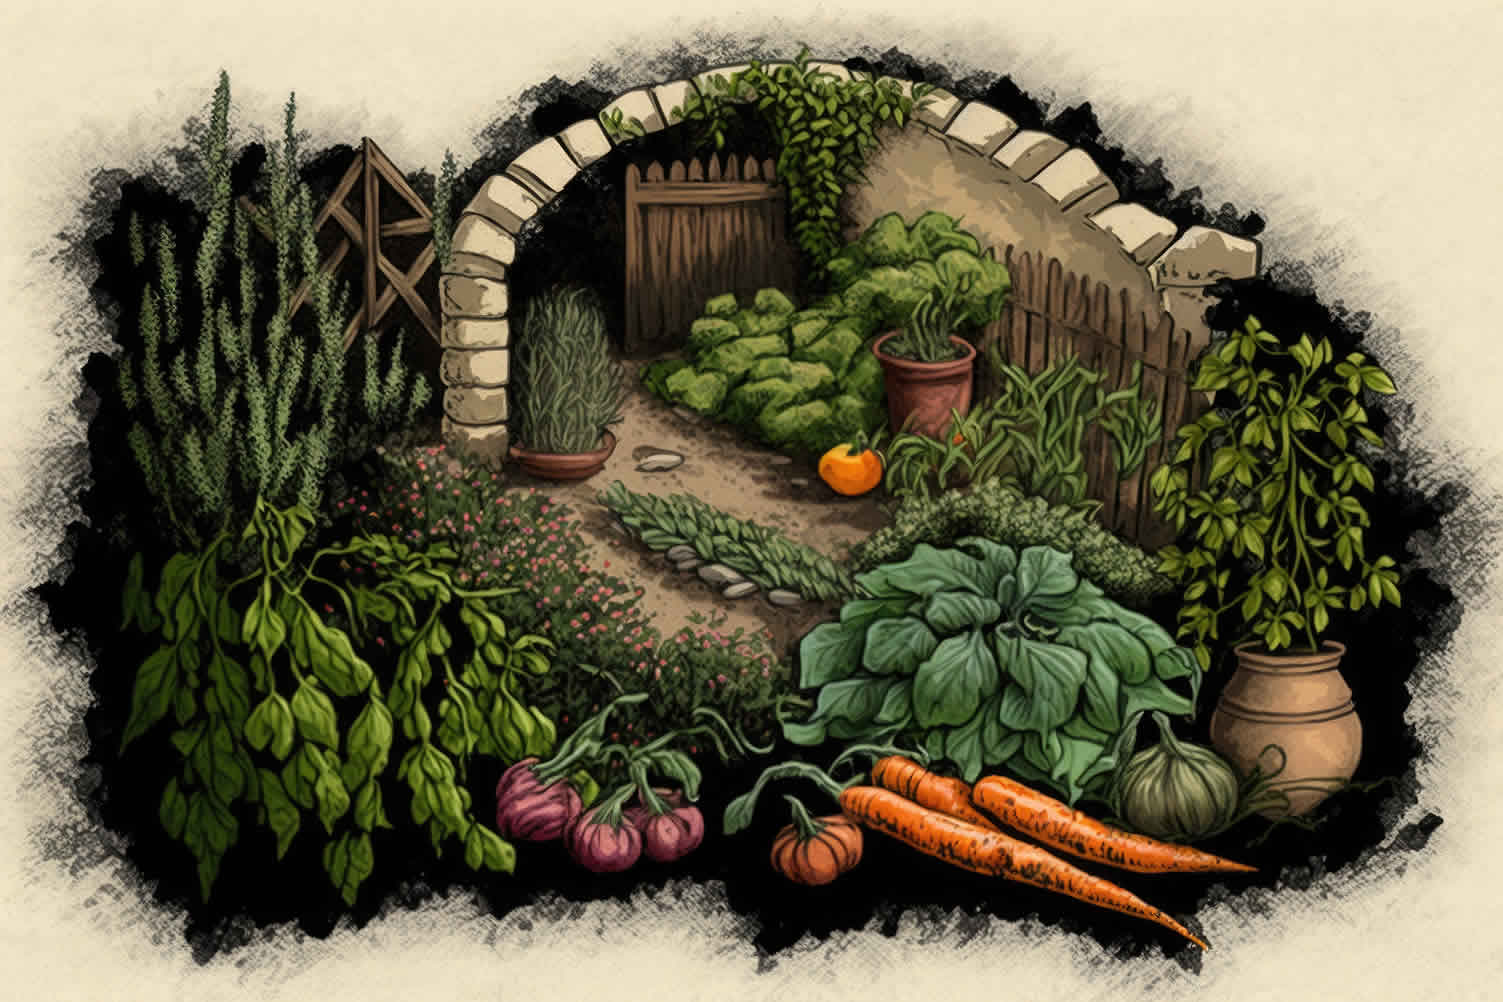

copyright image by 123rf.com
Canning Tip 6: Starting a Food Producing Garden/Orchard
Notes:
-
Growing your own food is an empowering and rewarding endeavor that not only provides you with fresh, nutritious produce but also plays a crucial role in sustainability as you explore canning and other alternative methods for preserving your garden harvest.
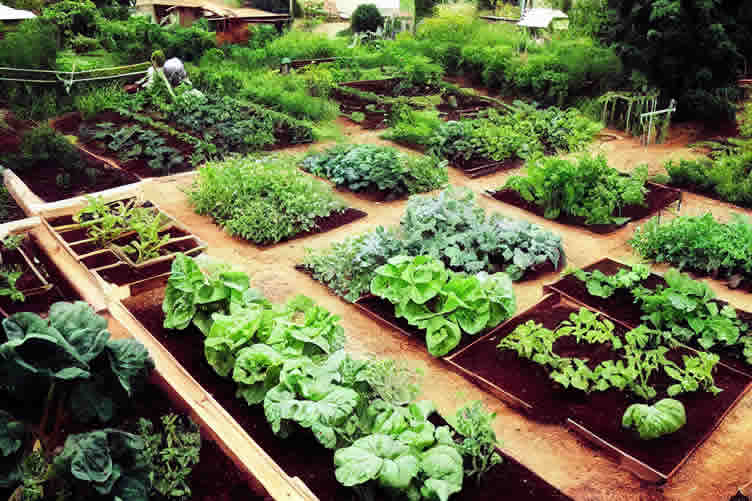
A food production garden can range from a small collection of pots and containers on your balcony to a sprawling backyard plot brimming with a variety of fruits, vegetables, and herbs.
Whether you’re a seasoned gardener or a complete beginner, starting a food production garden can be a fulfilling way to connect with nature, reduce your grocery bill, and ensure that you’re consuming organically grown foods free from harmful pesticides and chemicals.
By starting your own food production garden, you are taking a proactive step towards a healthier lifestyle and a more sustainable world.
The tips and detailed information provided below will guide you through each stage of your gardening journey, ensuring a successful and enjoyable experience.
-
Quick scroll to topic "starting garden" side notes …
-
-
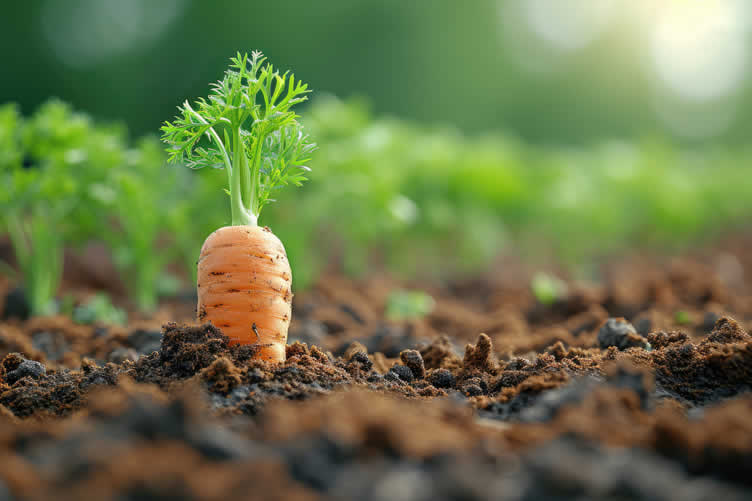
1st: Starting a Vegetable/Berry Garden
Starting a vegetable or berry garden can be a rewarding and fulfilling experience. Whether you have a spacious backyard or a small balcony, cultivating your own fresh produce offers both health benefits and a sense of accomplishment.
Below are the essential steps to help you establish your very own vegetable or berry garden.
-
Choosing the Right Location
The first step in starting your garden is selecting an optimal location. Most vegetables and berries require at least six hours of sunlight per day.
Choose a spot that receives ample sunlight and has good drainage to prevent water-logging, which can harm plant roots.
-
Preparing the Soil
Healthy soil is the foundation of a thriving garden. Conduct a soil test to determine its pH and nutrient levels. Most vegetables prefer slightly acidic to neutral soil.
Amend your soil with compost or organic matter to improve its fertility, structure, and water-holding capacity.
-
Selecting Your Plants
Consider the climate and growing conditions in your region when choosing which vegetables and berries to plant. Local nurseries or agricultural extensions can provide guidance on plant varieties that thrive in your area.
Also, consider planting a mix of vegetables and berries that yield crops at different times to enjoy a continuous harvest.
-
Planting and Spacing
Follow the recommended planting depths and spacing guidelines for each type of vegetable or berry. Proper spacing ensures that plants have enough room to grow and prevents competition for nutrients and sunlight.
Utilize row planting, raised beds, or container gardening based on your available space.
-
Watering and Mulching
Consistent moisture is critical for a successful garden. Water your plants deeply and regularly, preferably in the early morning to minimize evaporation.
Mulching around your plants can help retain moisture, reduce weeds, and regulate soil temperature.
-
Fertilizing and Pest Management
Fertilize your garden with organic or slow-release fertilizers to provide essential nutrients. Monitor your garden regularly for signs of pests or diseases.
Integrated Pest Management (IPM) strategies, such as introducing beneficial insects or using organic sprays, can help manage pest problems without harming the environment.
-
Harvesting and Maintenance
Harvest your vegetables and berries when they reach peak ripeness to ensure the best flavor and nutritional value.
Regularly check your garden for weeds, remove dead or diseased plants, and maintain proper watering and fertilization schedules.
copyright image by 123rf.com
-
-
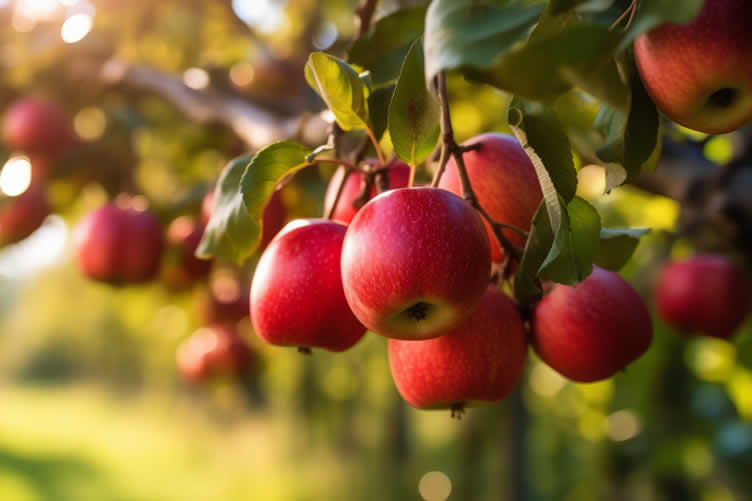
2nd: Starting a Fruit Orchard
Establishing a fruit orchard can be a rewarding endeavor, offering seasonal harvests of delicious and nutritious fruits. Proper planning, site preparation, and maintenance are key to ensuring a thriving orchard that can produce for many years.
Below are the essential steps to start your own fruit orchard.
-
Choosing the Right Fruit Trees
Selecting the right fruit trees is the first step in creating a successful orchard. Consider your local climate, soil conditions, and the amount of sunlight your orchard site receives.
Popular choices include apple, pear, cherry, peach, and plum trees. Choose varieties that are well-suited to your region and resistant to common pests and diseases.
-
Site Preparation
Begin by choosing a site with well-drained soil, as waterlogged conditions can harm the root systems of fruit trees. Test the soil pH and nutrient levels, and amend the soil as necessary to achieve optimal growing conditions.
Clear the area of any weeds, debris, or existing vegetation that might compete with your young fruit trees.
-
Planting the Trees
Proper planting is crucial for the long-term health of your fruit trees. Dig holes wide and deep enough to spread out the tree’s roots without crowding.
Place the tree in the hole and backfill it with soil, ensuring that the graft union is above the soil line for grafted trees. Water thoroughly after planting to help the roots establish contact with the soil.
-
Watering and Fertilizing
Regular watering is essential, particularly during the first few years as the trees establish themselves. Deep, infrequent watering encourages deeper root growth.
Apply a balanced, slow-release fertilizer in early spring and late fall to provide necessary nutrients. Avoid over-fertilizing, as this can lead to excessive vegetative growth at the expense of fruit production.
-
Pruning and Training
Pruning is pivotal in shaping fruit trees and promoting good air circulation within the canopy. Prune your trees in late winter or early spring before new growth begins.
Establish a central leader or open center structure depending on the type of fruit tree. Remove any dead, diseased, or crossing branches to maintain tree health.
-
Pest and Disease Management
Monitor your orchard regularly for signs of pests and diseases. Implement Integrated Pest Management (IPM) techniques to reduce the use of chemical pesticides.
Encourage beneficial insects, use disease-resistant varieties, and apply organic sprays when necessary to manage pest populations and prevent outbreaks.
-
Harvesting
Fruit trees take time to mature, with many requiring 3-5 years before they start producing significant yields. Patience is key, but once your trees start bearing fruit, harvest at peak ripeness for the best flavor and nutritional content.
Handle the fruit gently to avoid bruising and store it properly to extend its shelf life.
-
Ongoing Maintenance
An orchard requires ongoing care and attention. Regularly inspect your trees for health and vigor, apply mulch to retain soil moisture and control weeds, and continue monitoring for pests and diseases.
Maintain a watering and fertilization schedule that supports healthy growth and fruit production.
copyright image by 123rf.com
-
-
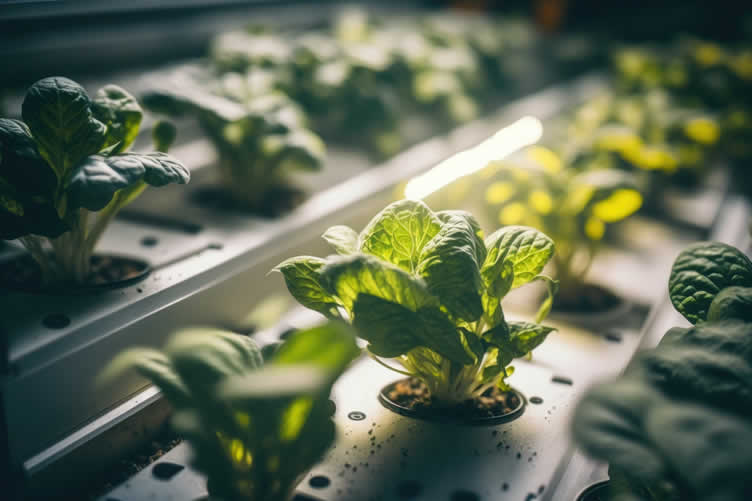
3rd: About Hydroponic Gardening
Cultivating a hydroponic garden allows you to grow plants without soil, using nutrient-rich water solutions instead. This method is ideal for urban environments, small spaces, or those seeking a sustainable gardening approach.
Hydroponic gardening can yield faster plant growth and larger harvests compared to traditional soil-based methods. Here’s a step-by-step guide to getting started with your own hydroponic garden.
-
Selecting a Hydroponic System
There are several types of hydroponic systems, each with its own advantages. Common systems include Deep Water Culture (DWC), Nutrient Film Technique (NFT), Ebb and Flow (Flood and Drain), and Wick systems.
Choose a system that fits your space, budget, and the types of plants you wish to grow. DWC and NFT systems, for example, are great for leafy greens and herbs, while Ebb and Flow can support larger plants such as tomatoes and peppers.
-
Setting Up the System
Once you’ve chosen a system, it’s time to set it up. This generally involves assembling the structure, installing the reservoirs for nutrient solutions, placing grow trays or containers, and integrating a water pump if required.
Ensure that the setup is stable and located in an area with adequate light—either natural sunlight or artificial grow lights.
-
Preparing the Nutrient Solution
The nutrient solution is the lifeblood of a hydroponic garden. It provides the essential minerals and nutrients that plants need to thrive.
You can buy pre-made nutrient solutions or mix your own, ensuring they contain balanced amounts of nitrogen, phosphorus, potassium, and trace minerals.
Regularly monitor the pH and electrical conductivity (EC) of the solution to maintain optimal growing conditions.
-
Planting Seeds or Seedlings
For a successful hydroponic garden, you can start with seeds or young seedlings. If starting from seeds, use a seed starter or rockwool cubes to germinate them.
Once seedlings are established, transfer them into the hydroponic system, ensuring their roots are well-contacted with the nutrient solution. Position the plants correctly and provide ample space for growth.
-
Maintenance and Monitoring
Maintaining a hydroponic garden involves routine checks and adjustments. Monitor water levels and add nutrient solution as needed. Keep an eye on pH and EC levels, and adjust them if they drift from the ideal range.
Prune plants to promote healthy growth and prevent overcrowding. Regularly inspect the system for leaks or any malfunctions to ensure it operates smoothly.
-
Managing Pests and Diseases
Although hydroponic systems reduce the risk of soil-borne diseases, plants are still susceptible to pests and air-borne pathogens. Implement Integrated Pest Management (IPM) techniques, such as introducing beneficial insects, using organic pest sprays, and maintaining good hygiene in your garden area.
Regular monitoring helps in early detection and management of any pest or disease issues.
-
Harvesting
In a hydroponic garden, plants often grow faster than in soil, so you may enjoy quicker harvests. Harvest leafy greens and herbs by cutting them as needed, letting them regrow for multiple harvests.
For fruiting plants, ensure fruits are picked at peak ripeness for the best flavor and nutritional content. Handle all produce gently to avoid damage.
copyright image by 123rf.com
[ youtube: how to make a hydroponic garden ]
[ amazon: hydroponic growing kit ]
-
-
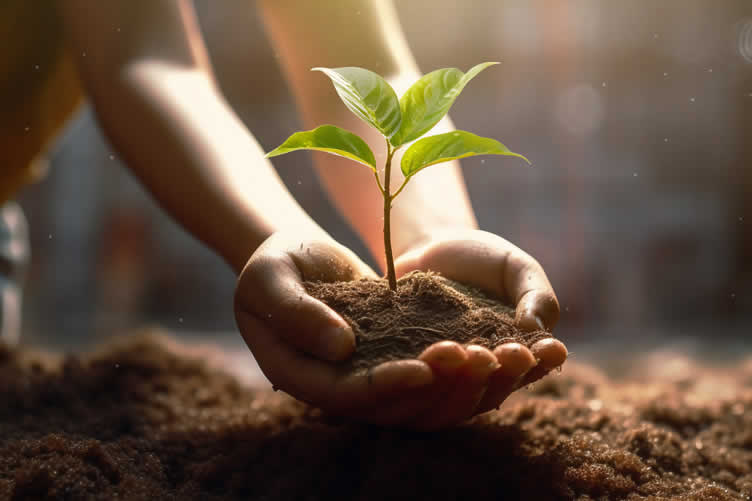
4th: Getting Help On Garden/Orchard Setup
Starting a food production garden can feel overwhelming, but there are numerous resources and organizations available to assist you.
Begin by exploring local gardening clubs or community gardens where experienced gardeners can offer valuable advice and hands-on assistance. Many cities and towns have cooperative extension services that provide expert guidance on horticultural practices, pest management, and even soil testing.
Online forums and social media groups dedicated to gardening are also excellent platforms to seek advice, share experiences, and ask questions. Websites such as the National Gardening Association or local agricultural university extensions offer extensive information and could be invaluable resources.
Additionally, attending workshops or webinars on gardening can provide both foundational knowledge and advanced techniques.
Remember, finding help is about creating a network of resources and individuals who can support you throughout your gardening journey.
Whether it’s through local community engagement, professional services, or online platforms, there is a wealth of knowledge available to help you cultivate a successful food production garden.
LetsRenovate has partnered with HomeAdvisor™, a renowned provider of highly-rated, carefully-vetted local contractors. Start your search here by choosing the type of contractor you need and entering your zip code to find local professionals.
copyright image by 123rf.com
But Wait!
Before starting your search and evaluation of outdoor garden experts, it is highly recommended to download and use this evaluation worksheet.
This resource will help you objectively rank and assess potential contractors, considering essential factors such as pricing, licensing, and referral information.

Evaluation Sheet
File Type:
-
-
Conclusion
Canning is a rewarding practice that allows you to enjoy your garden harvest year-round. With the right knowledge and equipment, you can preserve fruits, vegetables, and more, all while reducing food waste and promoting sustainability.
By exploring canning alongside other preservation methods like freezing and fermenting, you’ll create a diverse pantry filled with delicious options.
Whether you’re new to canning or a seasoned pro, there’s always something new to learn and explore. Start preserving your garden bounty today, and savor the satisfaction that comes with enjoying homegrown flavors throughout the year.
Happy canning!
-
ideas to view and compare from the information discussed above
books: start vegetable gardenstart fruit orchardhydroponic gardening
- What comments can you share about
canning garden harvest?
Scroll up to directory … or scroll to more kitchen-related topics …
view illustration “becoming a bank”


Calendar For:
Home Maintenance
File Type:


… view our sharing links below for a quick "share the knowledge"
Cover image credit: canning garden harvest by 123rf.com
end of post … please share it!
 |
did you find the canning garden harvest analysis helpful? If so, please share the article with your friends and family! |
Nice pic idea? Leave us a quick comment below.
And please share this pic idea within your social networks.